DIY: Mini Monsters Pins & Keychain
Halloween is approaching and with it, the time to get into the spooky spirit. Here a cute DIY that will help accessorize your and/or your little ones wardrobe during the month of October (or any month really).
Supplies:
Tombow Recycled Colored Pencils, yellow, green and black
Tombow ABT Dual Brush Pens, purple and beige
Shrinky Dinks Creative Pack, frosted
Tie tacks with clutch backs (for the pins)
Split key ring with chain and connector
Mod Podge sealer, matte or glossy
E6000 Permanent Craft Adhesive, clear
Also needed: a white sheet of paper, a pencil, a cup (about 3 inches in diameter), a one-hole paper punch (1/4 inch diameter), washi tape, a pair of scissors, a brush, a baking sheet pan, parchment paper, and jewelry pliers.
Important: please make sure to read and follow the instructions from the manufacturers for safety purposes and best results.
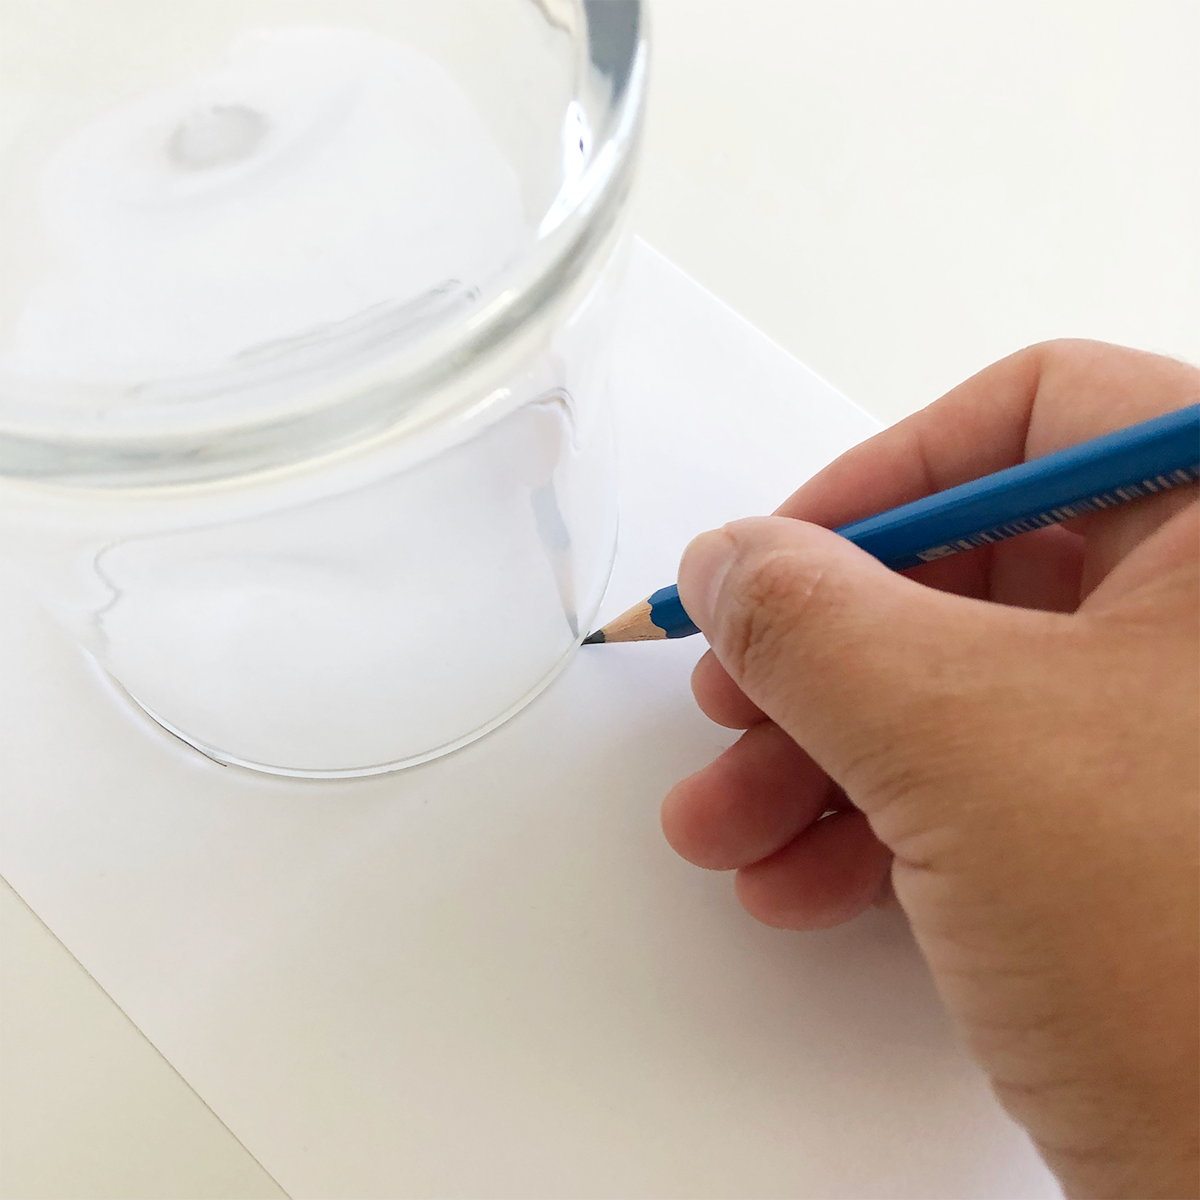
Step 1: Sketch
Make a circle with the help of a cup or any circular shape.
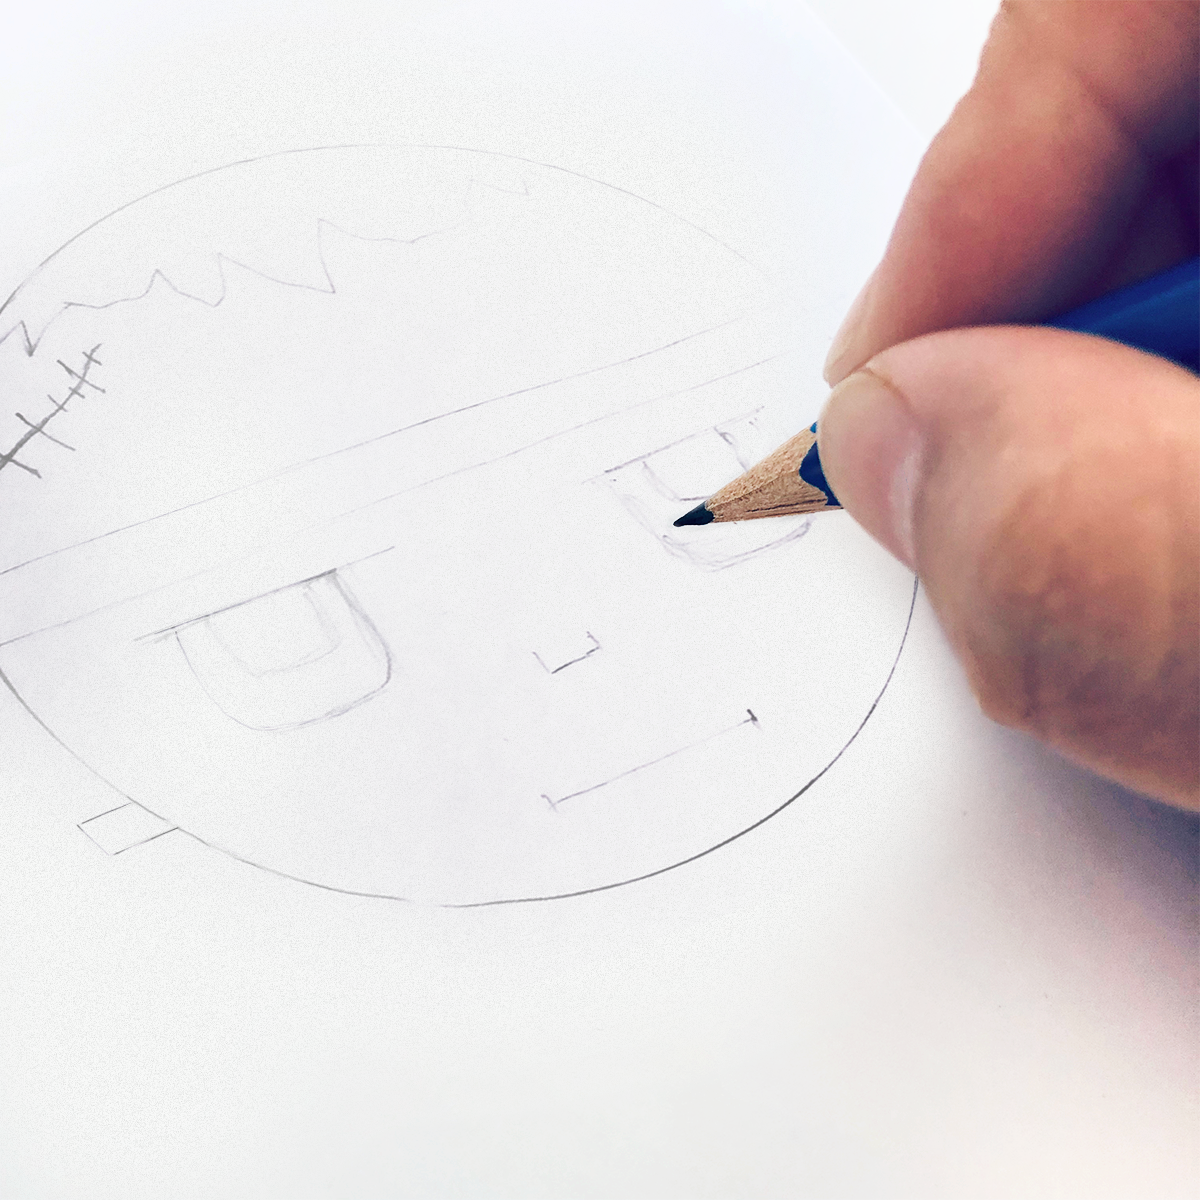
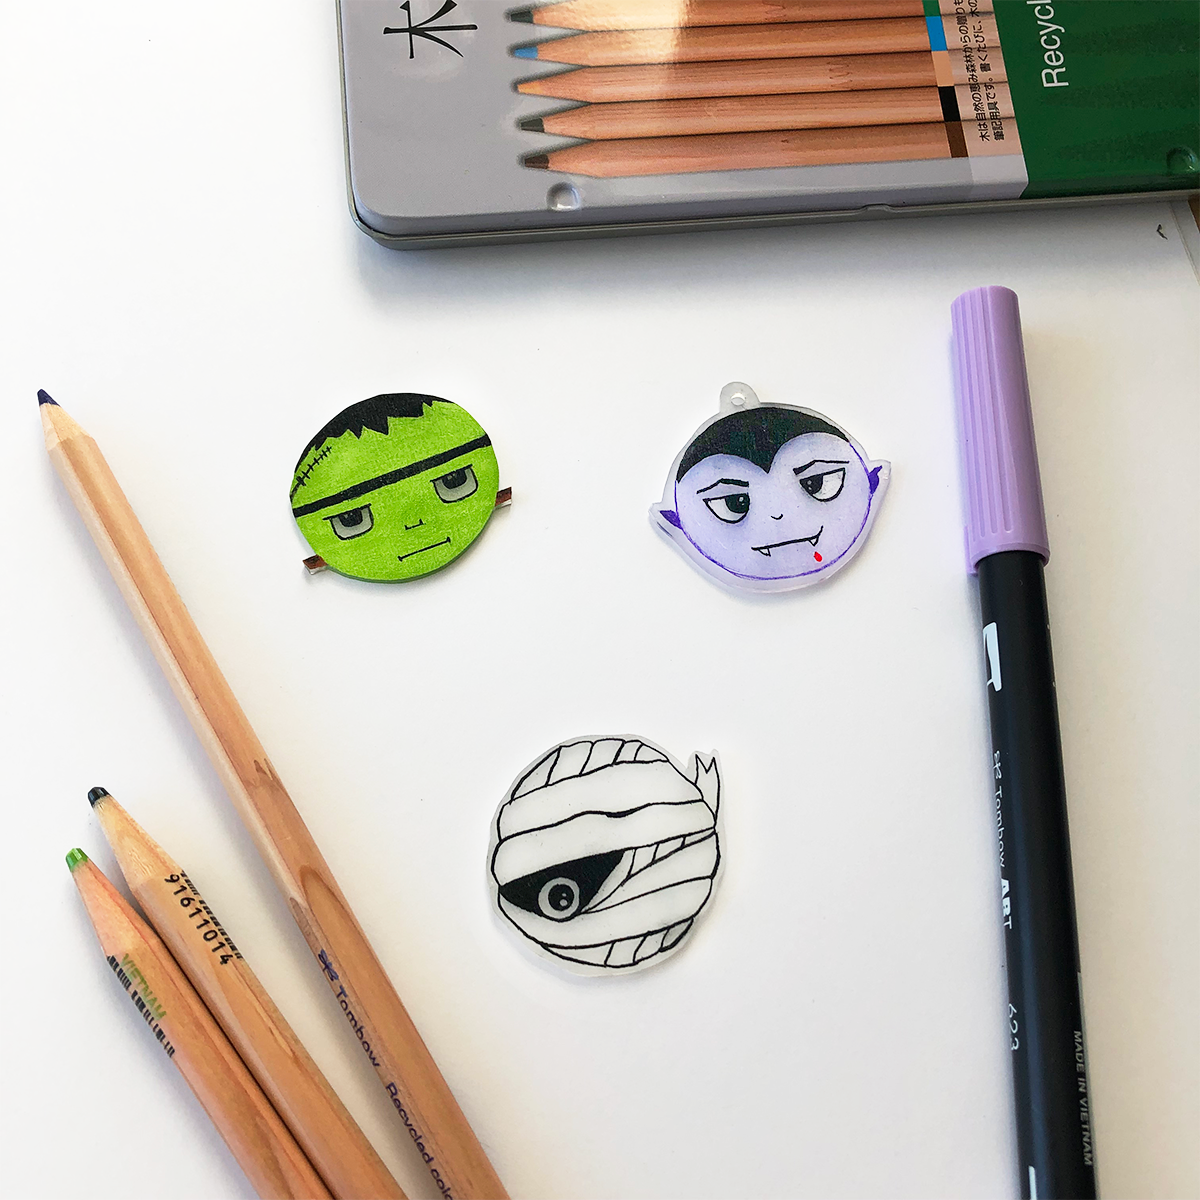
Sketch your little monster character. You can also use and print the PDF of the three mini monsters featured in this DIY.
MINI MONSTER FREE PRINTABLE
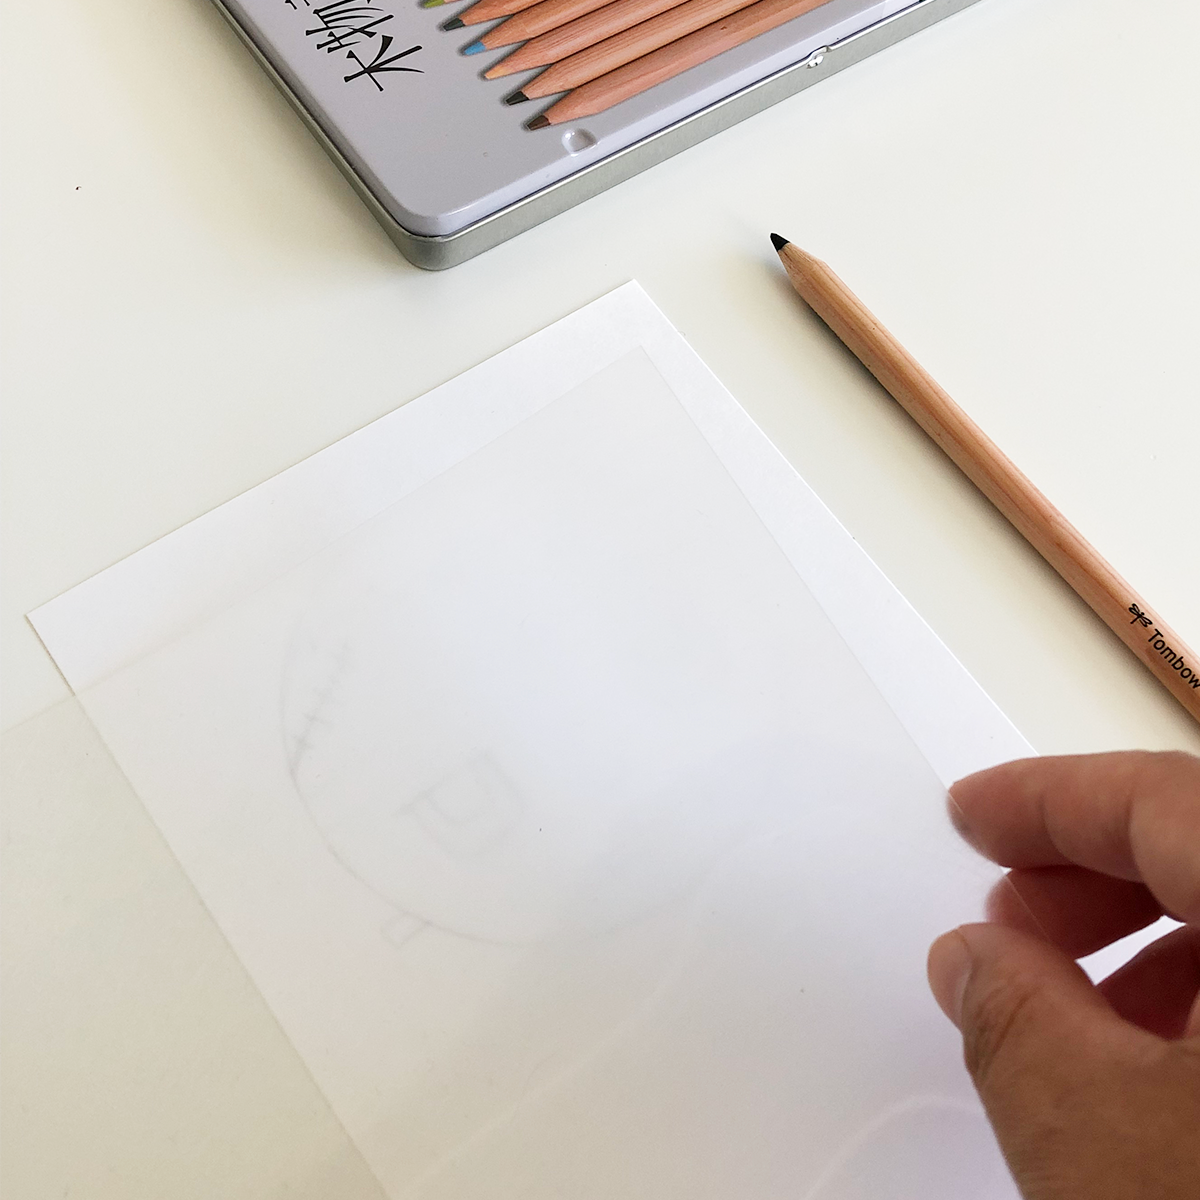
Place a shrinking plastic sheet on top of the mini monster sketch.
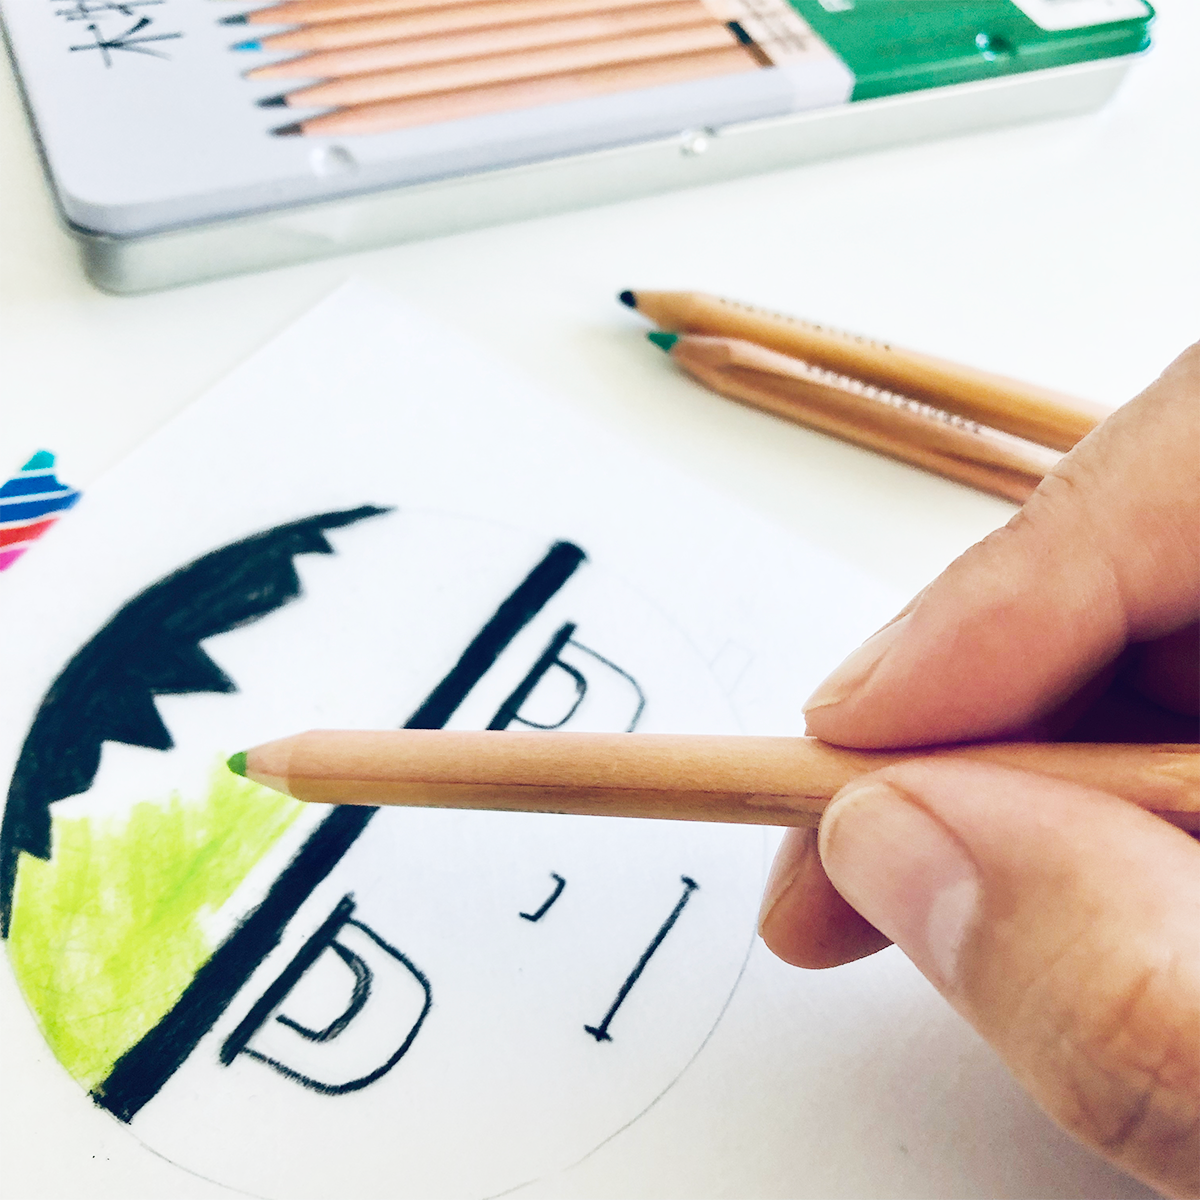
Step 2: Color
Use the color pencils to outline and paint the mini monster design on the shrinking plastic. For this project I used the Tombow Recycled Color Pencils, 12 set. They are very vibrant and creamy and applied easily to the shrinking plastic.
Tip: use a piece of washi tape to secure the shrinking plastic sheet to the sketch to avoid shifting. Make sure to color on the scratchy/rough side, not the smooth glossy side.
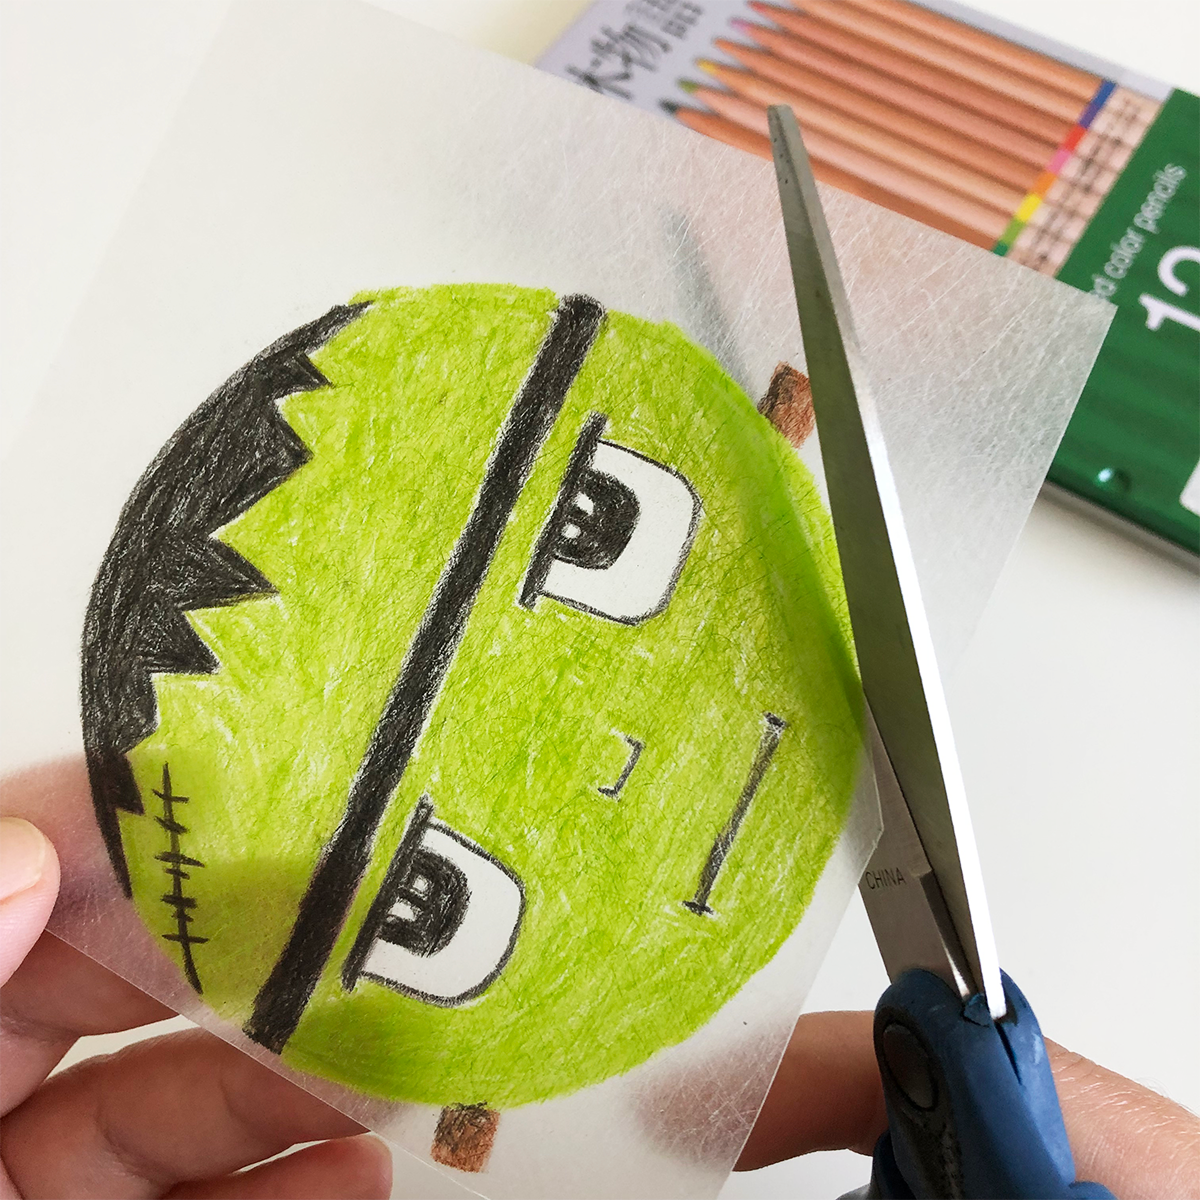
Step 3: Cut
Carefully, cut the mini monster along the edges of the design.
Tip: for an easier cutting, you can also cut the sheet leaving about 1/8 of an inch of space. See the mommy design at the end of this DIY for visual reference.
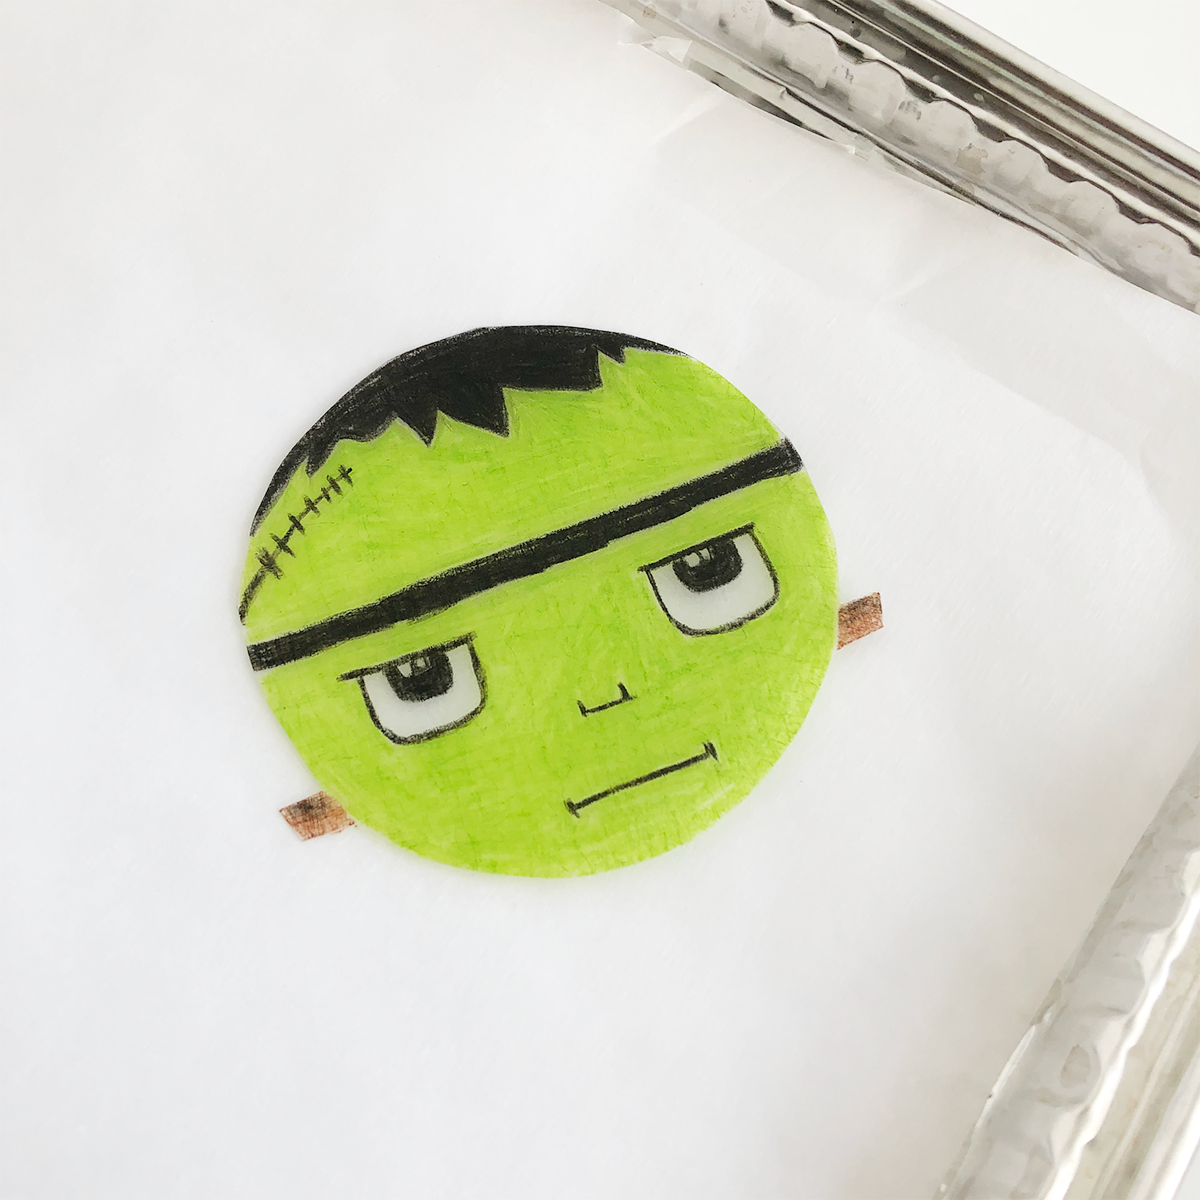
Step 4: Shrink
Time for some shrinking! Place the mini monster on a baking sheet pan, color side up. Make sure to cover the pan with a sheet of baking paper to avoid having the shrinking plastic stick to the baking pan.
Pre-heat your oven (a toaster is recommended, if available) to 325ºF and bake for 1 to 3 minutes until the pieces lie flat.
Tip: bake your pieces individually or make sure there is enough space between them to avoid them getting stuck to each other.
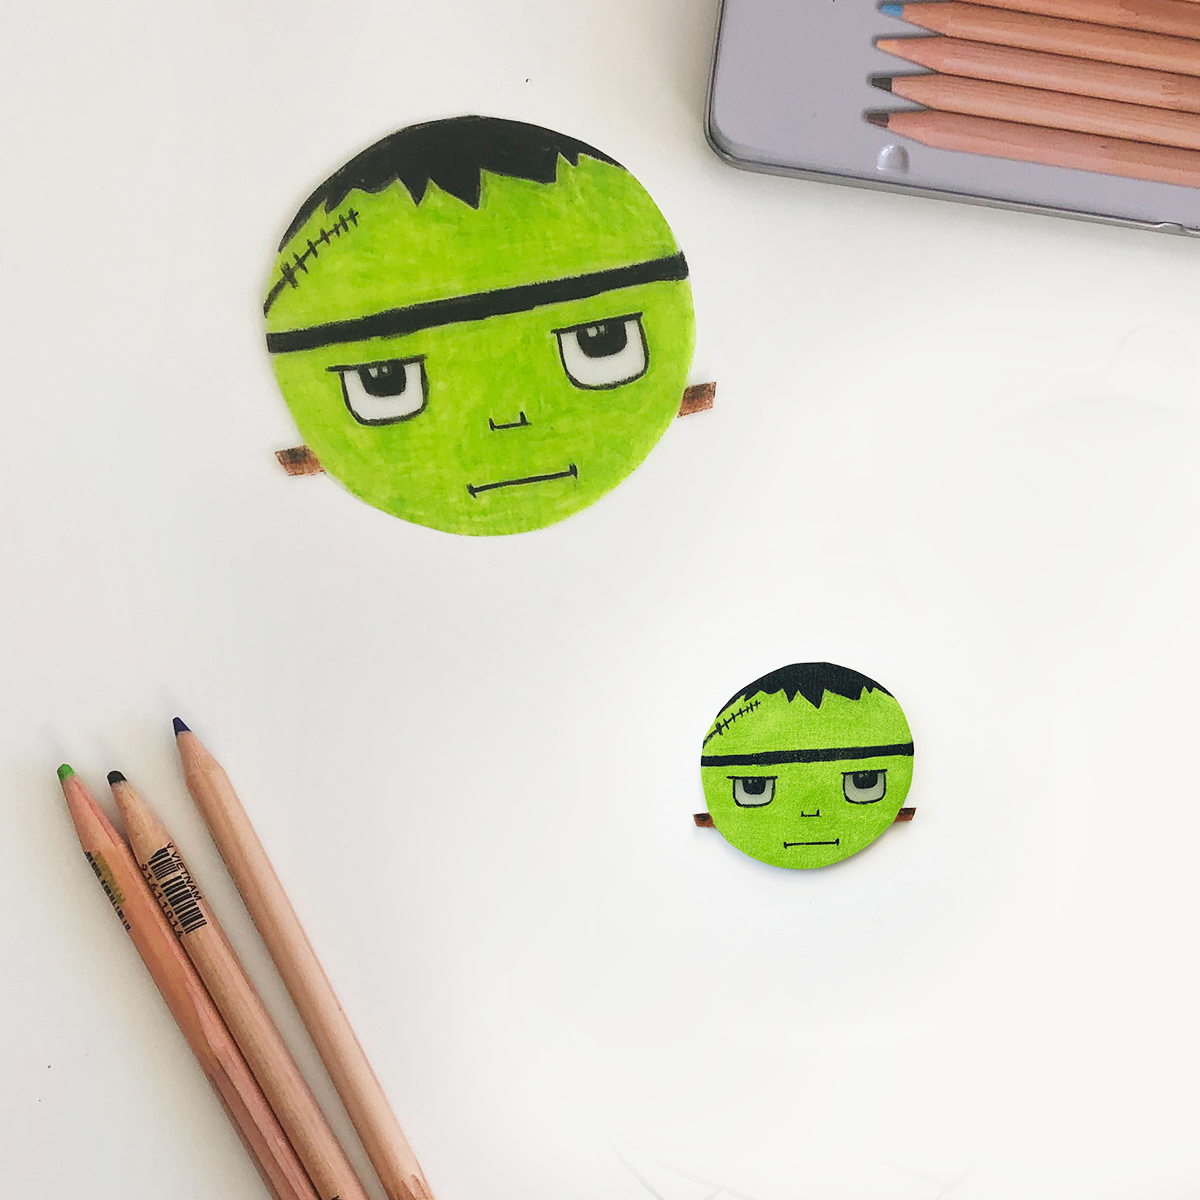
Here a visual comparison between the original 3 inch mini monster and the result after baking it. It usually shrinks about 1/3 of the size and it tends to get a bit darker depending on the colors and medium used.
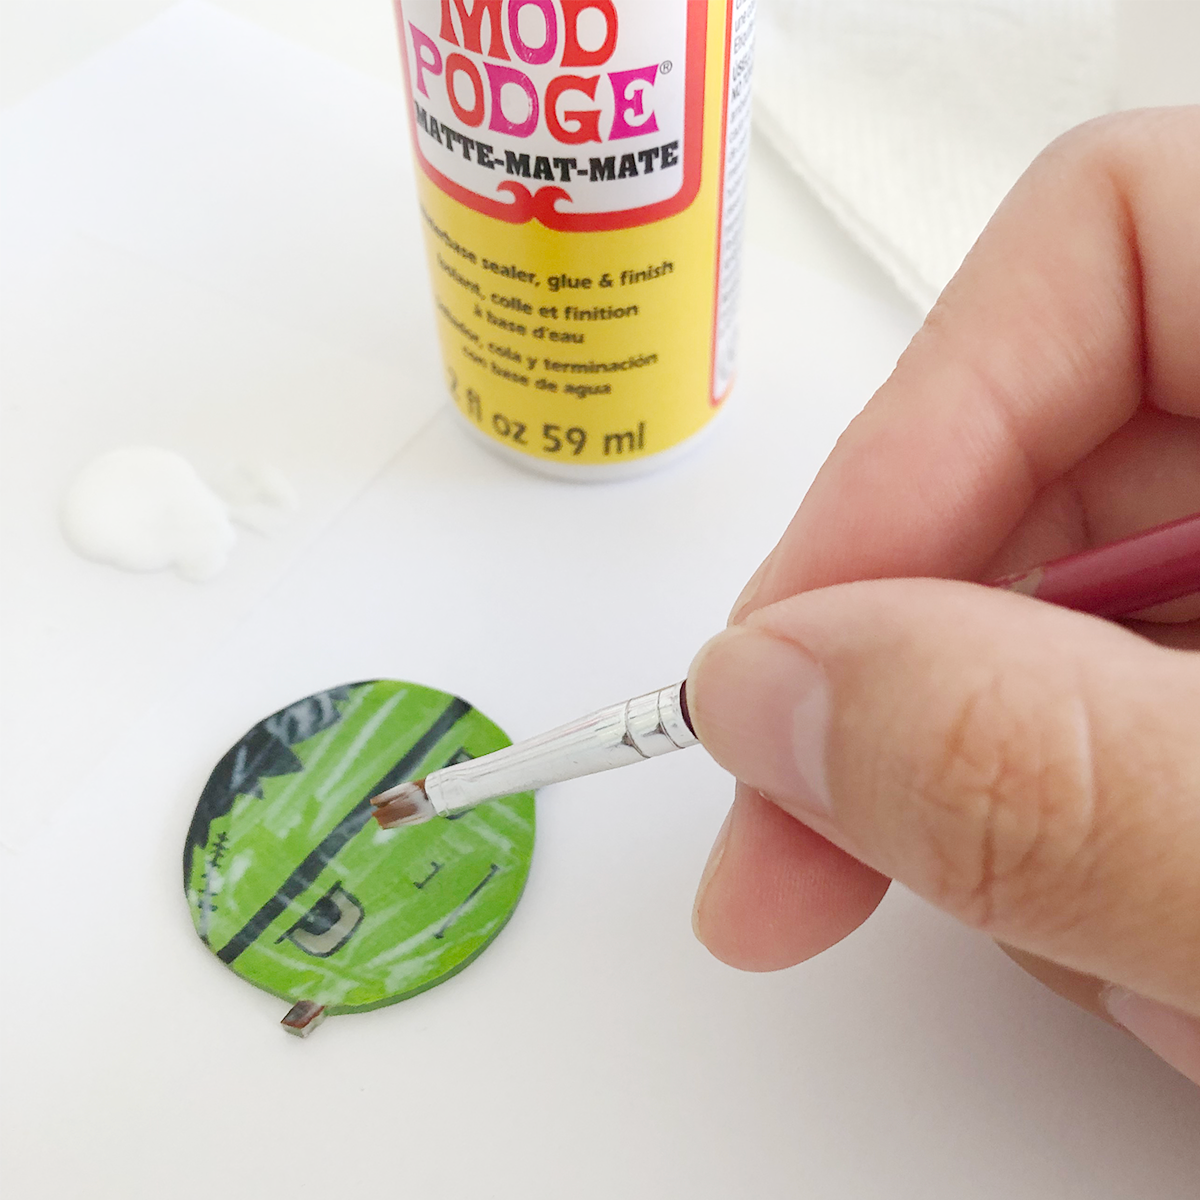
Step 5: Seal
Paint the mini monster with a thin layer of Mod Podge to seal it and avoid getting the pencil color smudge. I used the “Matte-Mat-Mate” sealer to give it a matte finished. To achieve a glossy look there is also a glossy version of Mod Podge.
Tip: for an even glossier and 3D look, use the Mod Podge “Dimensional Magic/Clear” glue…and why not, maybe some glitter!

Step 6: Glue
Squeeze a drop of the permanent glue and carefully attach the tack pin to the back of the mini monster design. Place it on a flat surface and leave it to dry for about 24 - 72 hours.
Mommy Pin
Follow steps 1 to 6 to create the mommy pin. Use a Tombow ABT Dual Brush Pen to add some texture. I used the 990 marker to add beige subtle tones.
Vampire Keychain
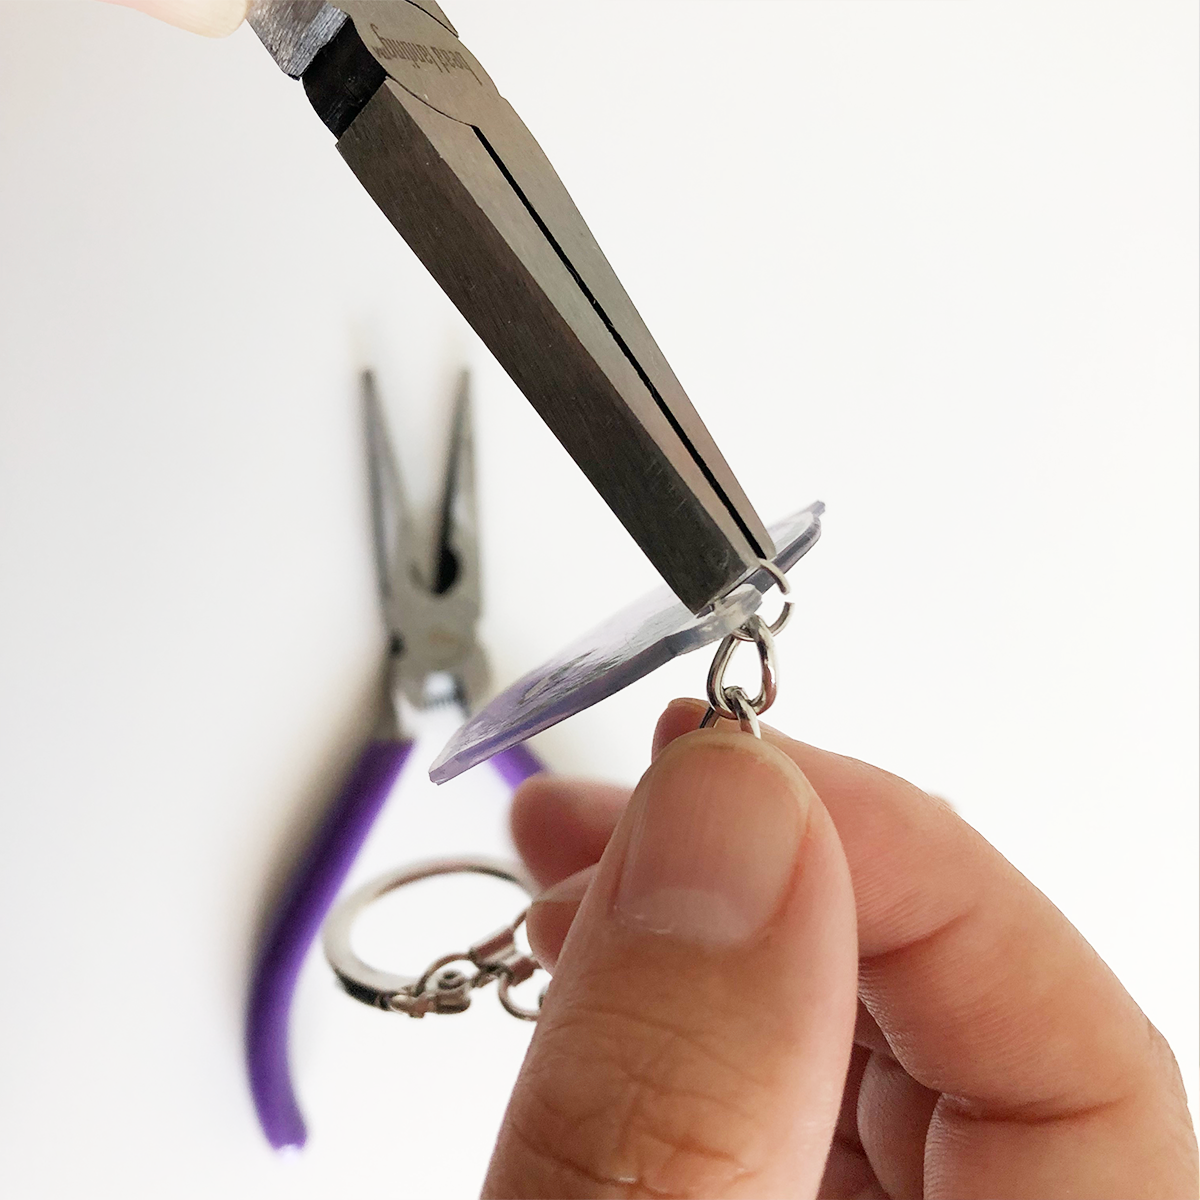
For the vampire keychain, follow steps 1 to 5 plus the bonus step below. Make sure to punch a hole prior the baking/shrinking of the plastic. I used a 1/4” one-hole paper puncher to help me get best results. Add a bit of color to your vampire with the Tombow ABT Dual Brush Pen 623.
Bonus Step:
Attach the vampire design to the keychain with the help of pliers.
And voila!
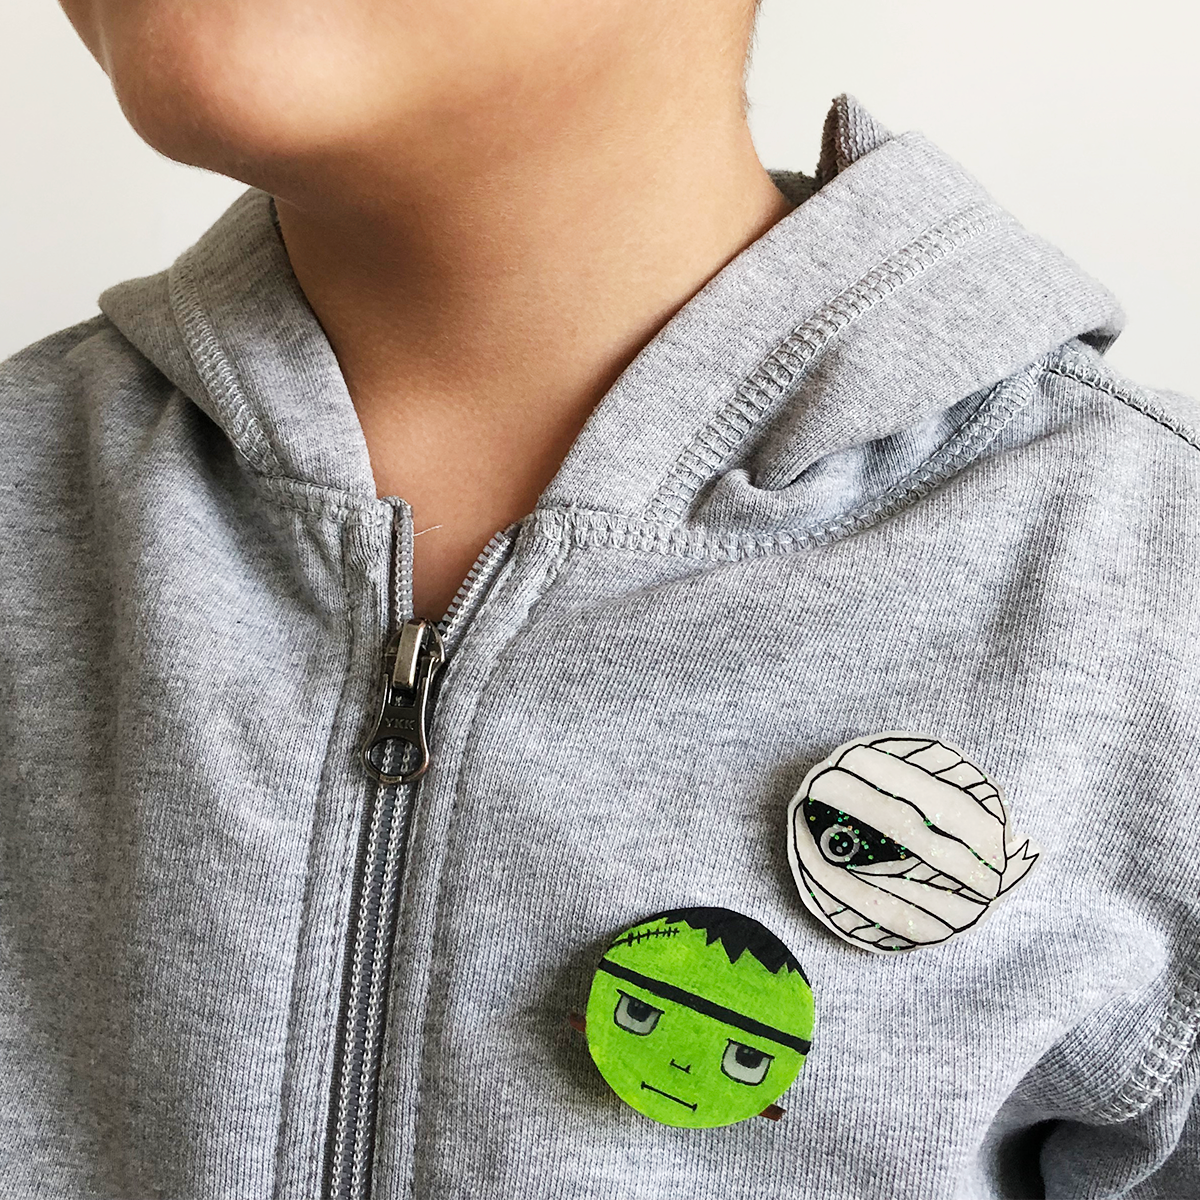
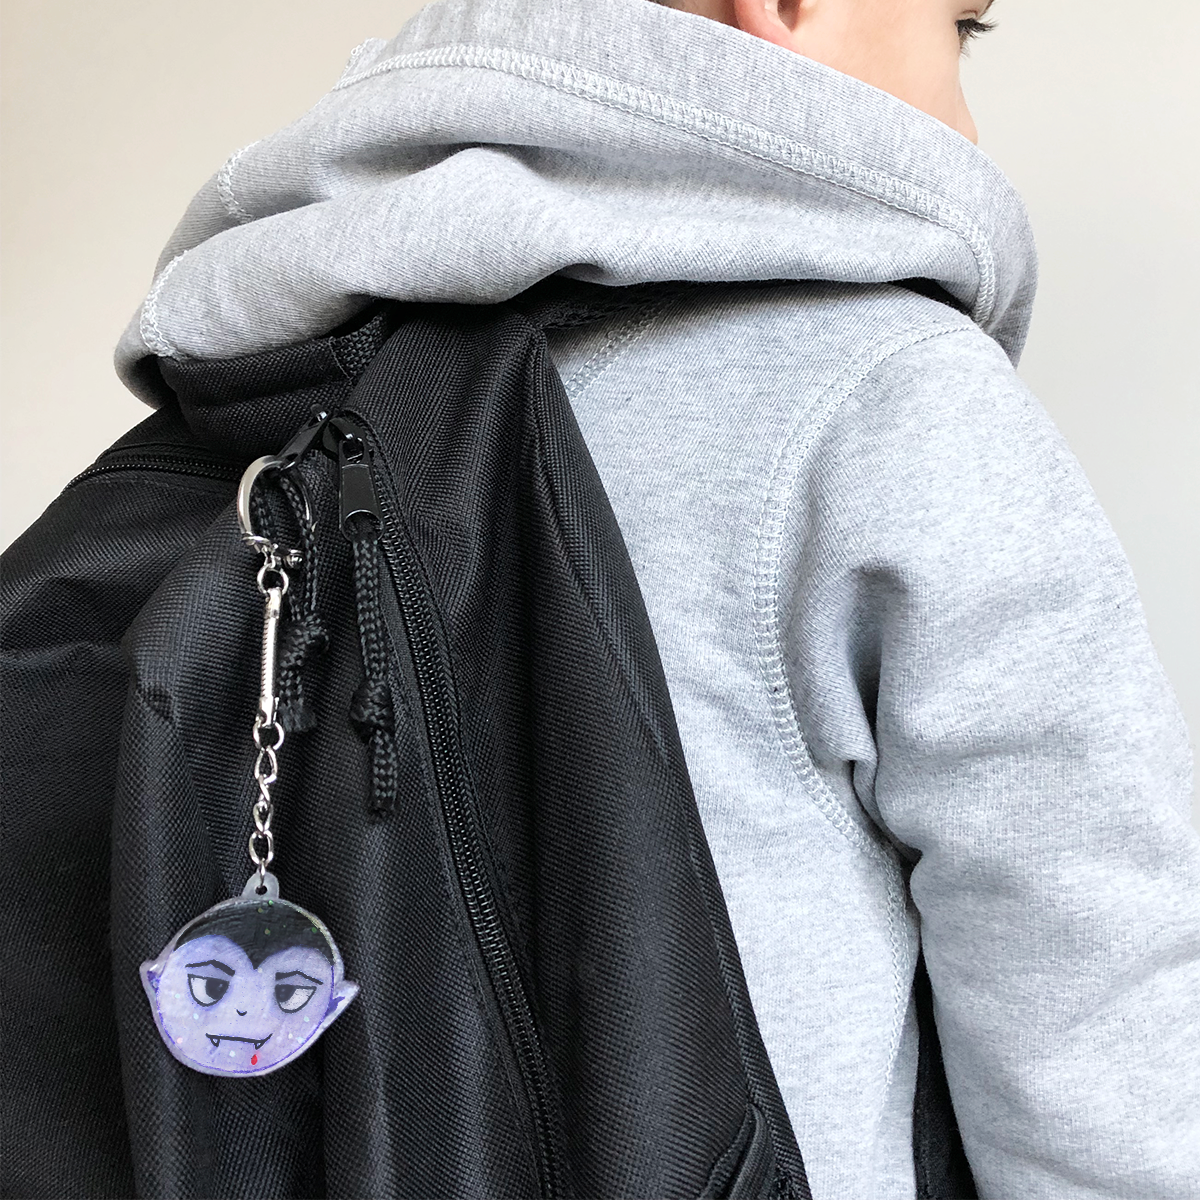
Here are the mini monster pins and keychain proudly worm by my little one.
Thanks for reading this post. Happy crafting!
xoxo,
B
You can find the art supplies used in this DIY at any art supply store. Here are the ones I found online on Amazon:


Tombow ABT Dual Brush Pen (990 Light Sand)

Tombow ABT Dual Brush Pen (623 Purple Sage)


Mod Podge Sealer and Finish, 2 Ounce Bottle, Set of 5

Planet MT Washi Masking Tape
