DIY: Mini Halloween Greeting Card
A DIY inspired by my little one’s love for crafting and gifting holiday cards with a twist. Plus, I got the chance to introduce him to a classic character of the “monster world”, Bride of Frankenstein.
Supplies:
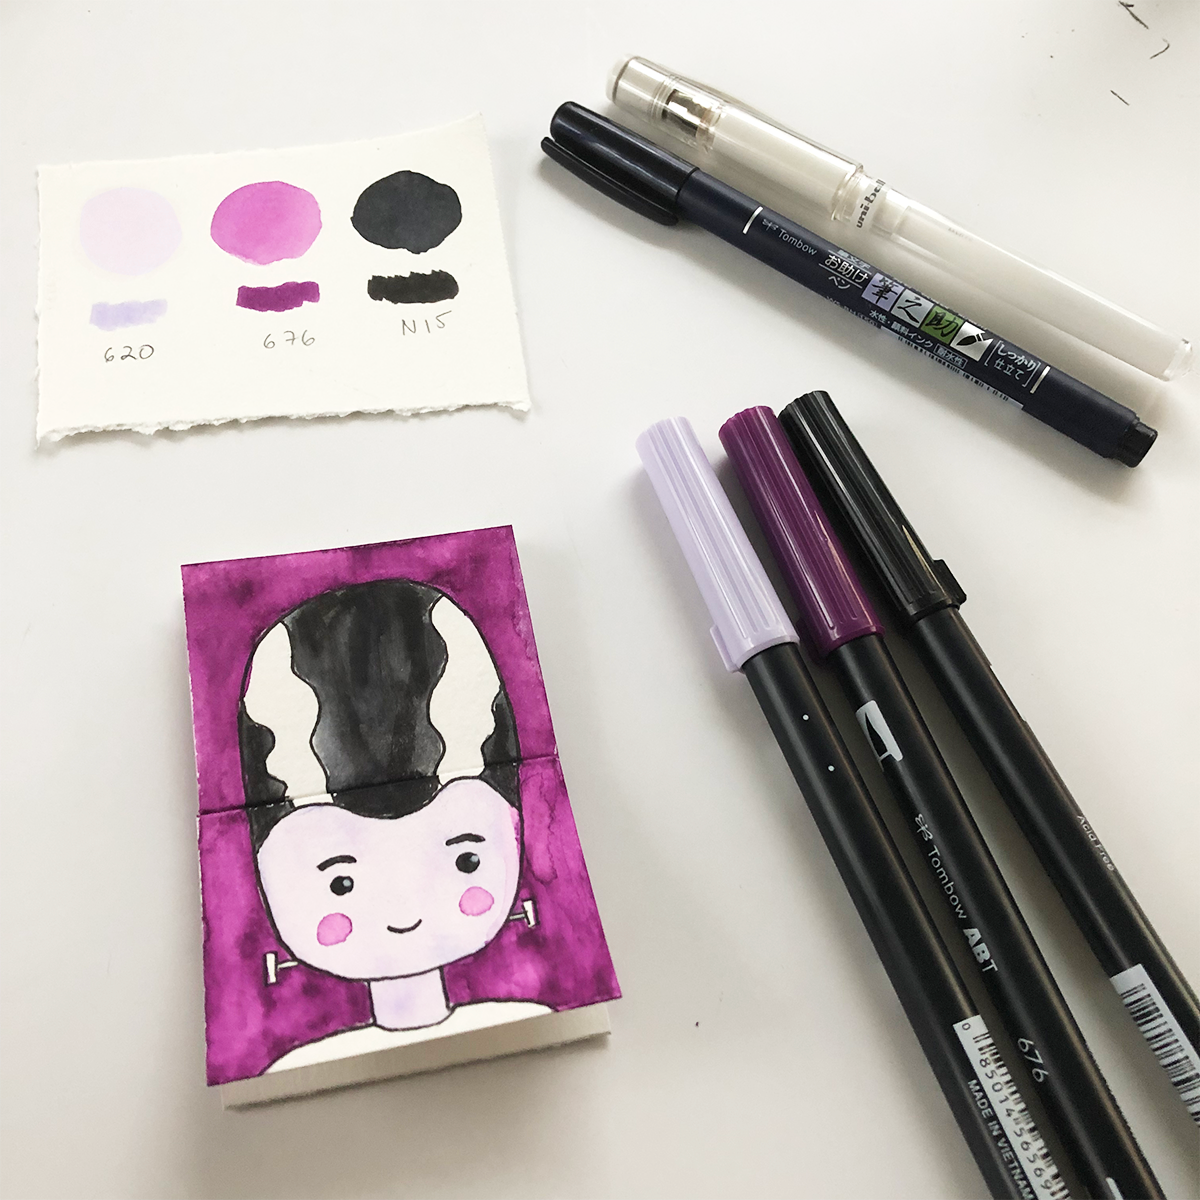
Tombow ABT Dual Brush Pens; light purple (620), dark purple (676) and black (N15)
Tombow Fudenosuke Brush Pen, black
Uni-Ball Signo Broad Point Gel Pen, white
Watercolor brush, pencil and eraser
Important: please make sure to read and follow the instructions from the manufacturers for safety purposes and best results.
Step 1: Prep
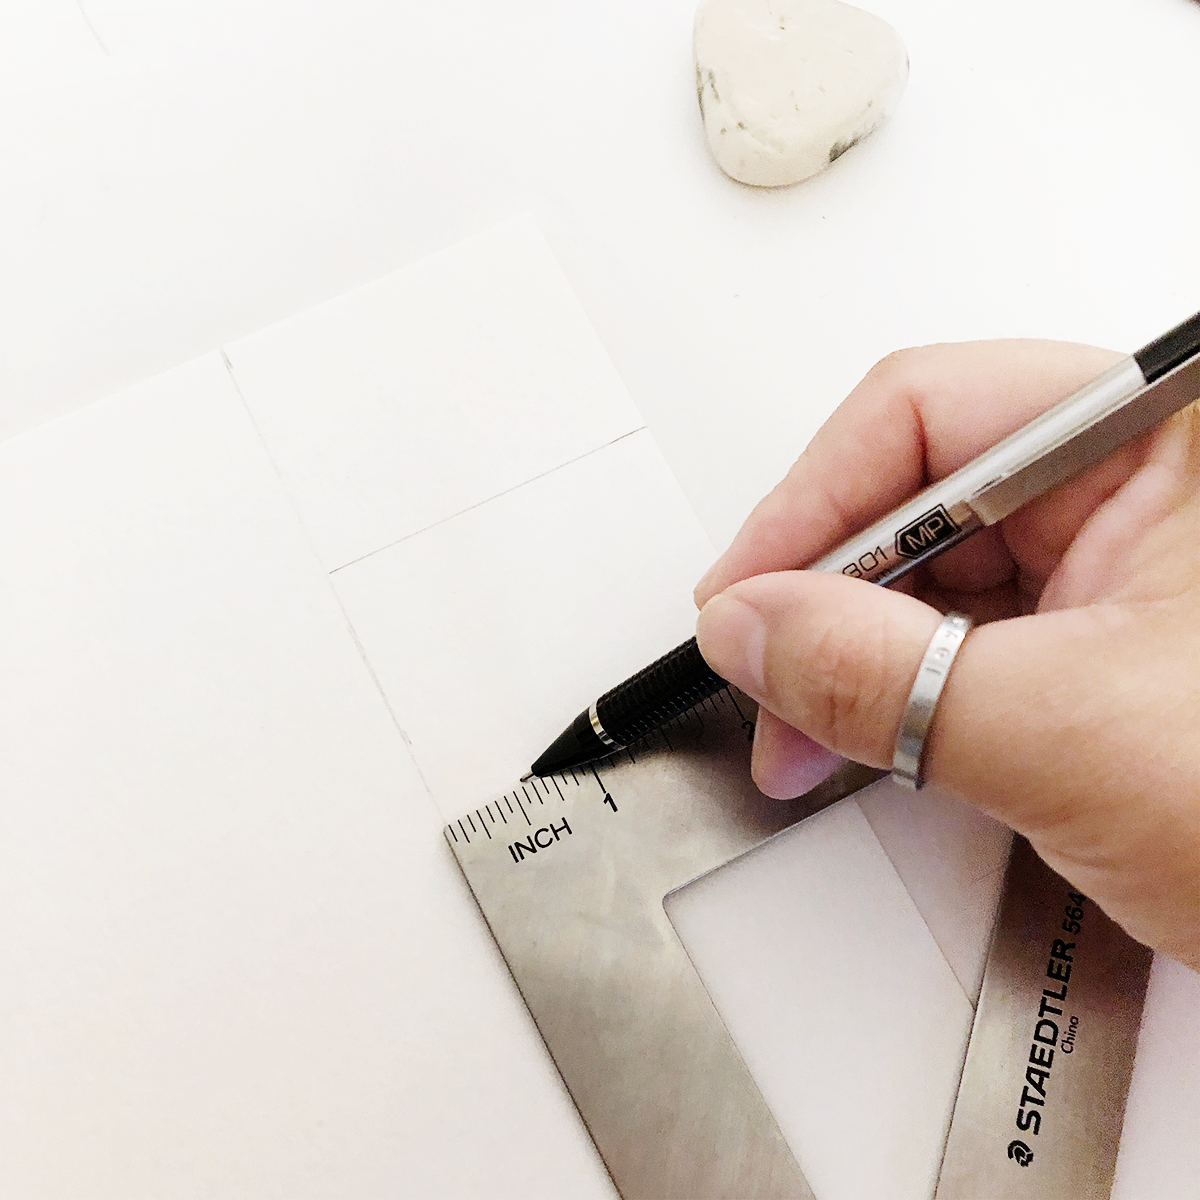
Draw a 10.5 x 2.5 in rectangle. Divide it in 4 sections. The first two should be 1.75in, the second 3.5 in and the last two 1.75 each.
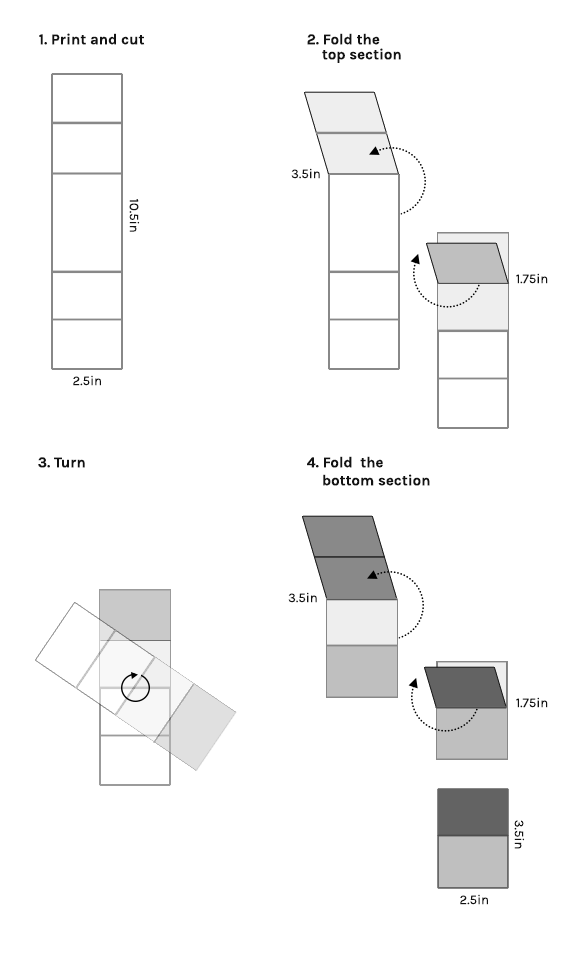
Here a step by step of how to fold the mini card. At the end you should have a 3.5 x 2.5 in work area.
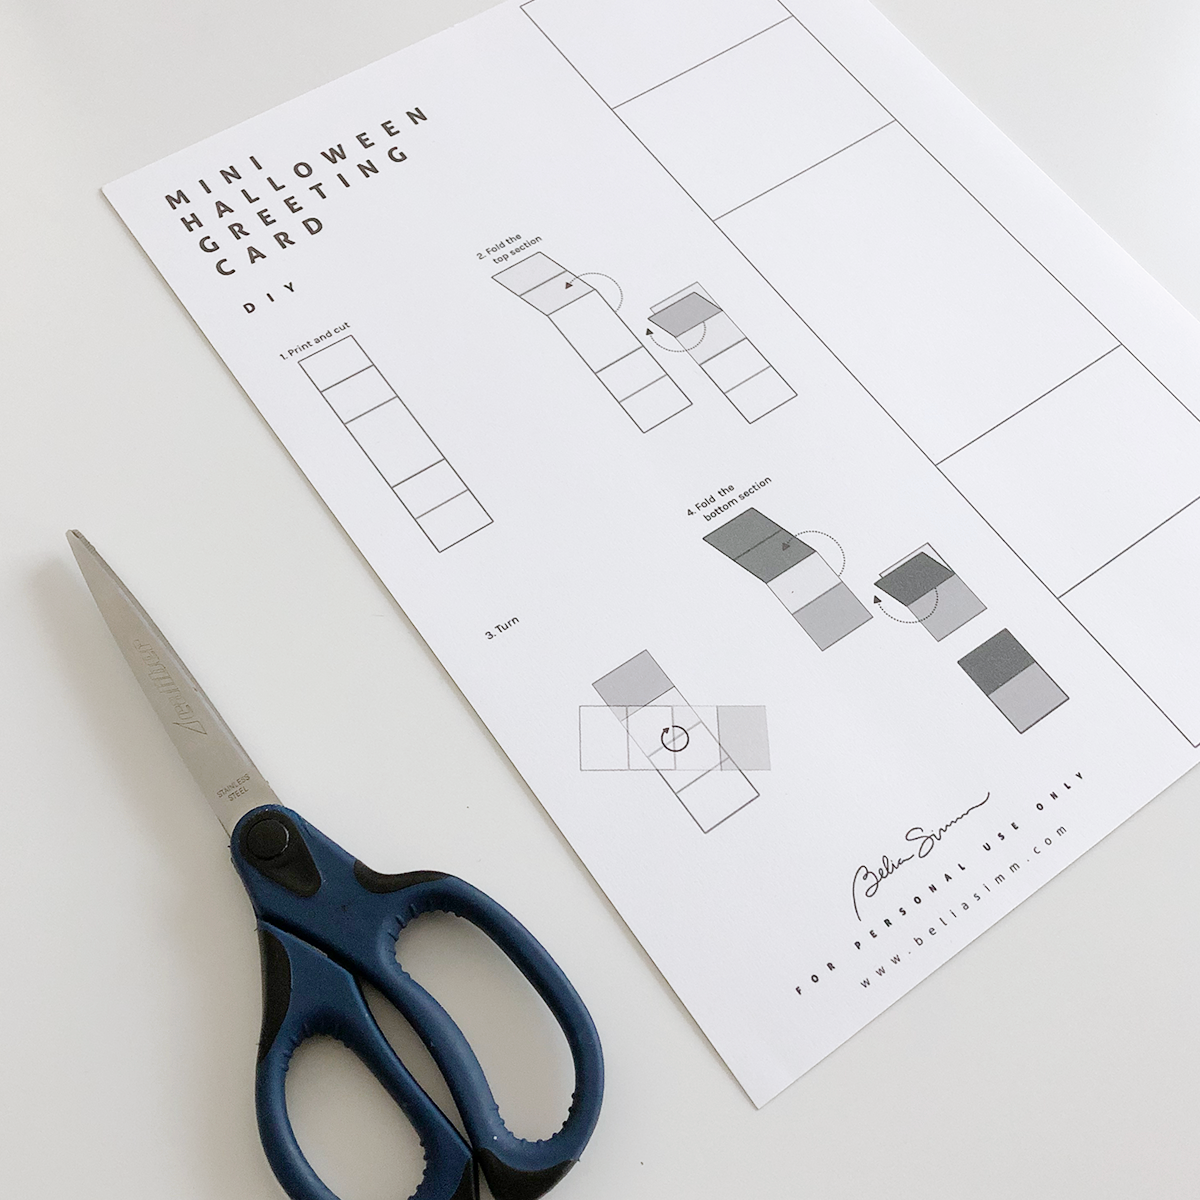
I prepared a template and a visual guide for easier crafting of this card. I do recommend to use watercolor or mix media paper for this project if using watercolor based markers or mediums that use water to avoid paper buckling.
Download the PDF (for personal use only)
Step 2: Sketch
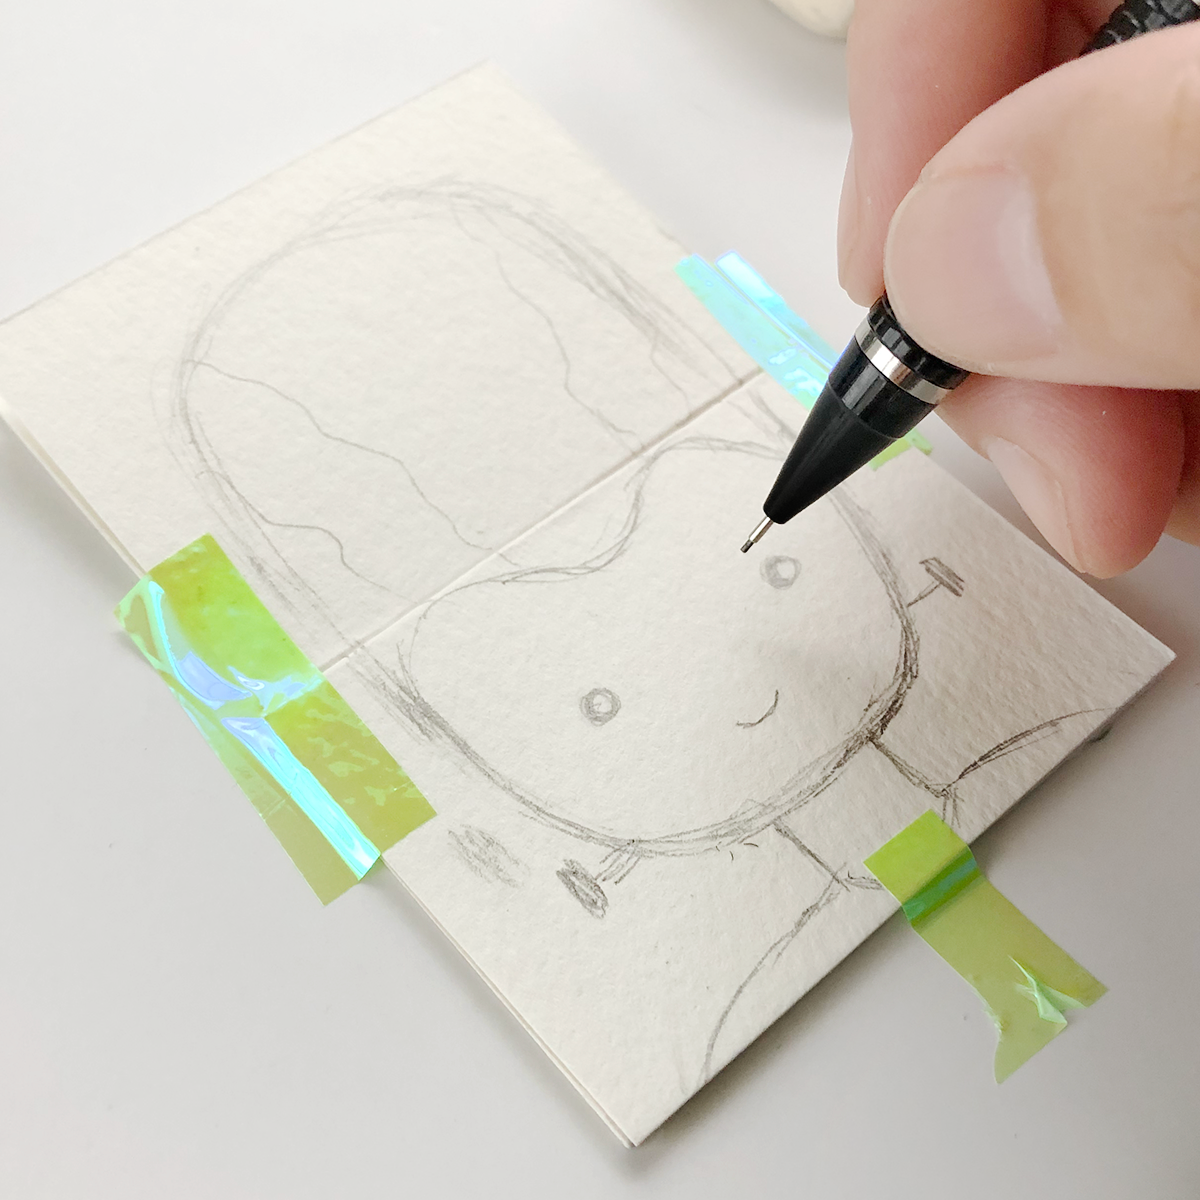
Once you have your “canvas” area cut, folded and ready, sketch the Bride of Frankenstein design following this sketch (for personal use only). Feel free to sketch your own version or a totally different character.
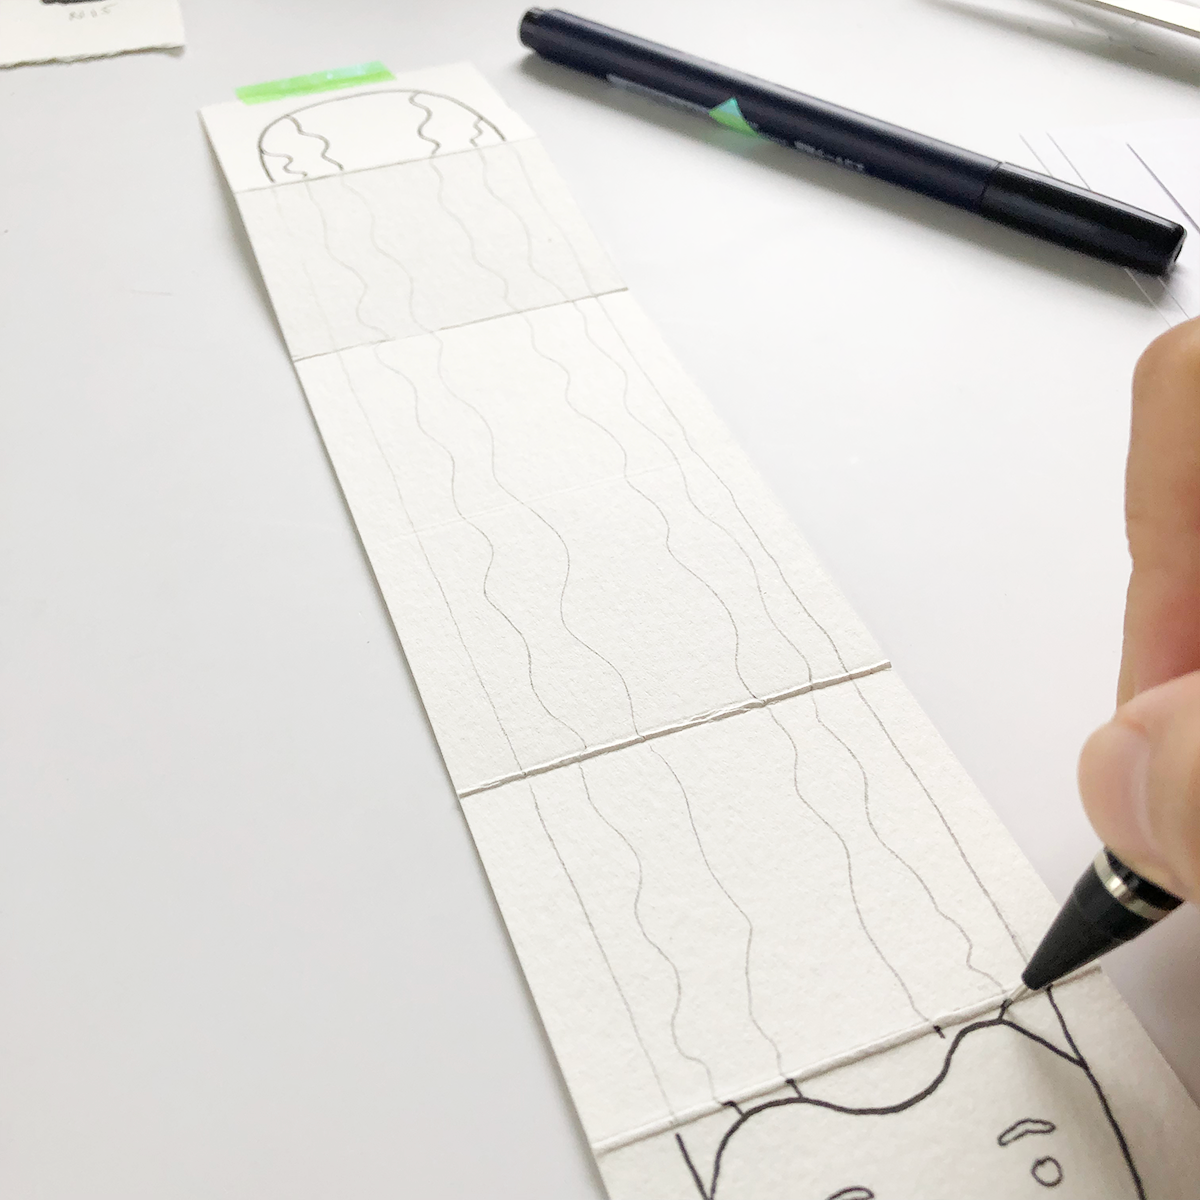
Now to the fun part! Open your card and pencil sketch a long hairdo for our character. Use a marker to start outlining the final sketch.
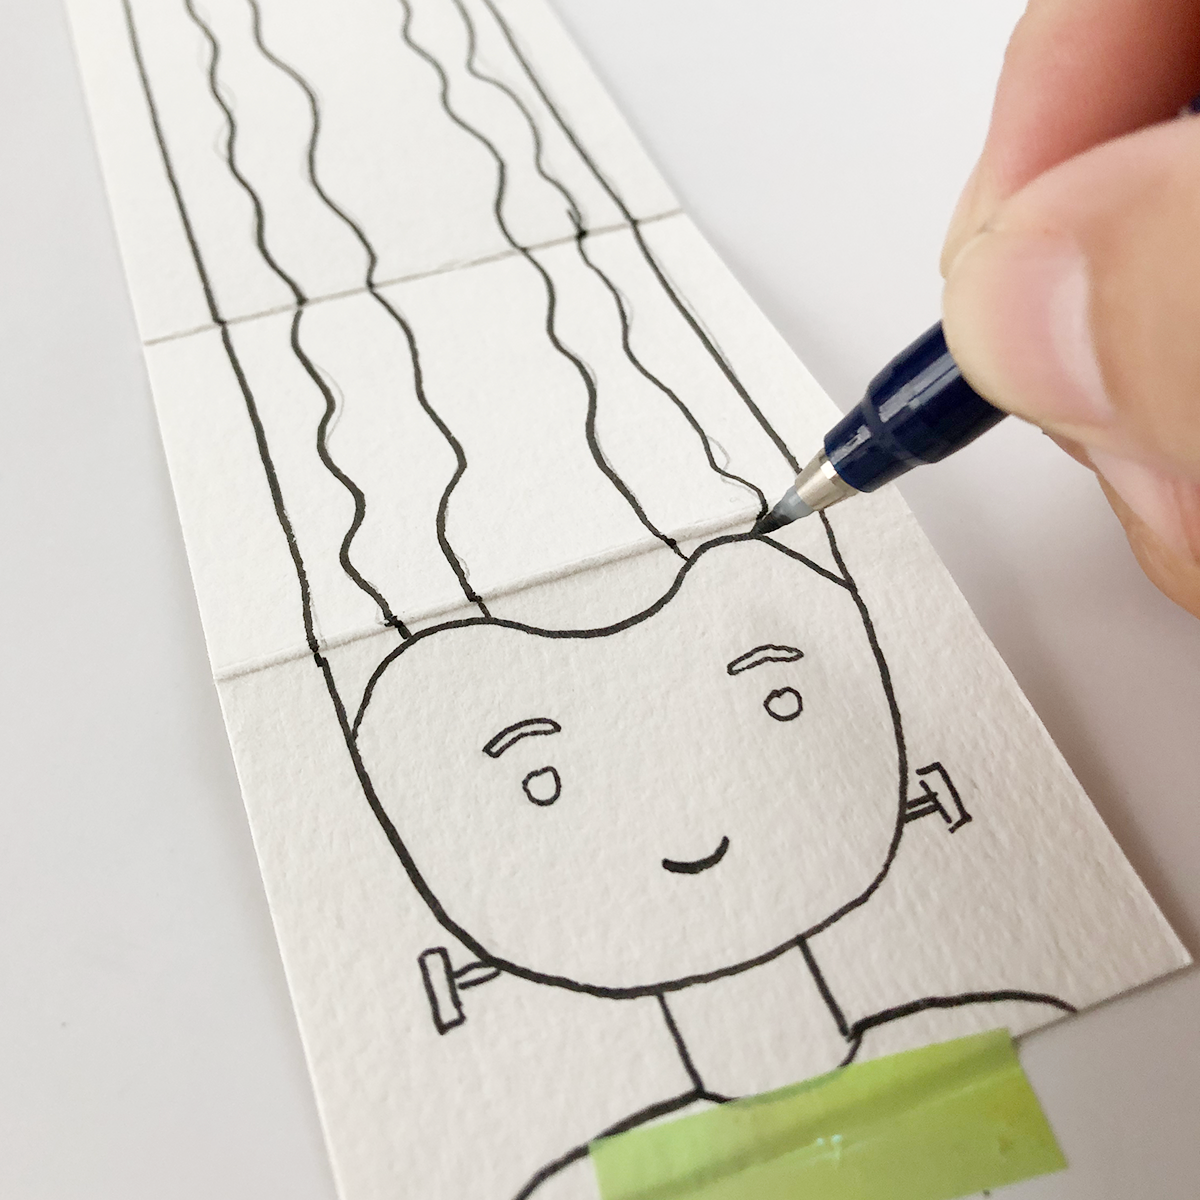
I used a Tombow Fudenosuke Brush Pen, in black.
Tip: use a piece of washi tape to secure the paper to avoid shifting.

Step 3: Color
Use the watercolor color makers to add color to your character. I started with coloring the face with a light purple tone and then the background with a dark purple one.
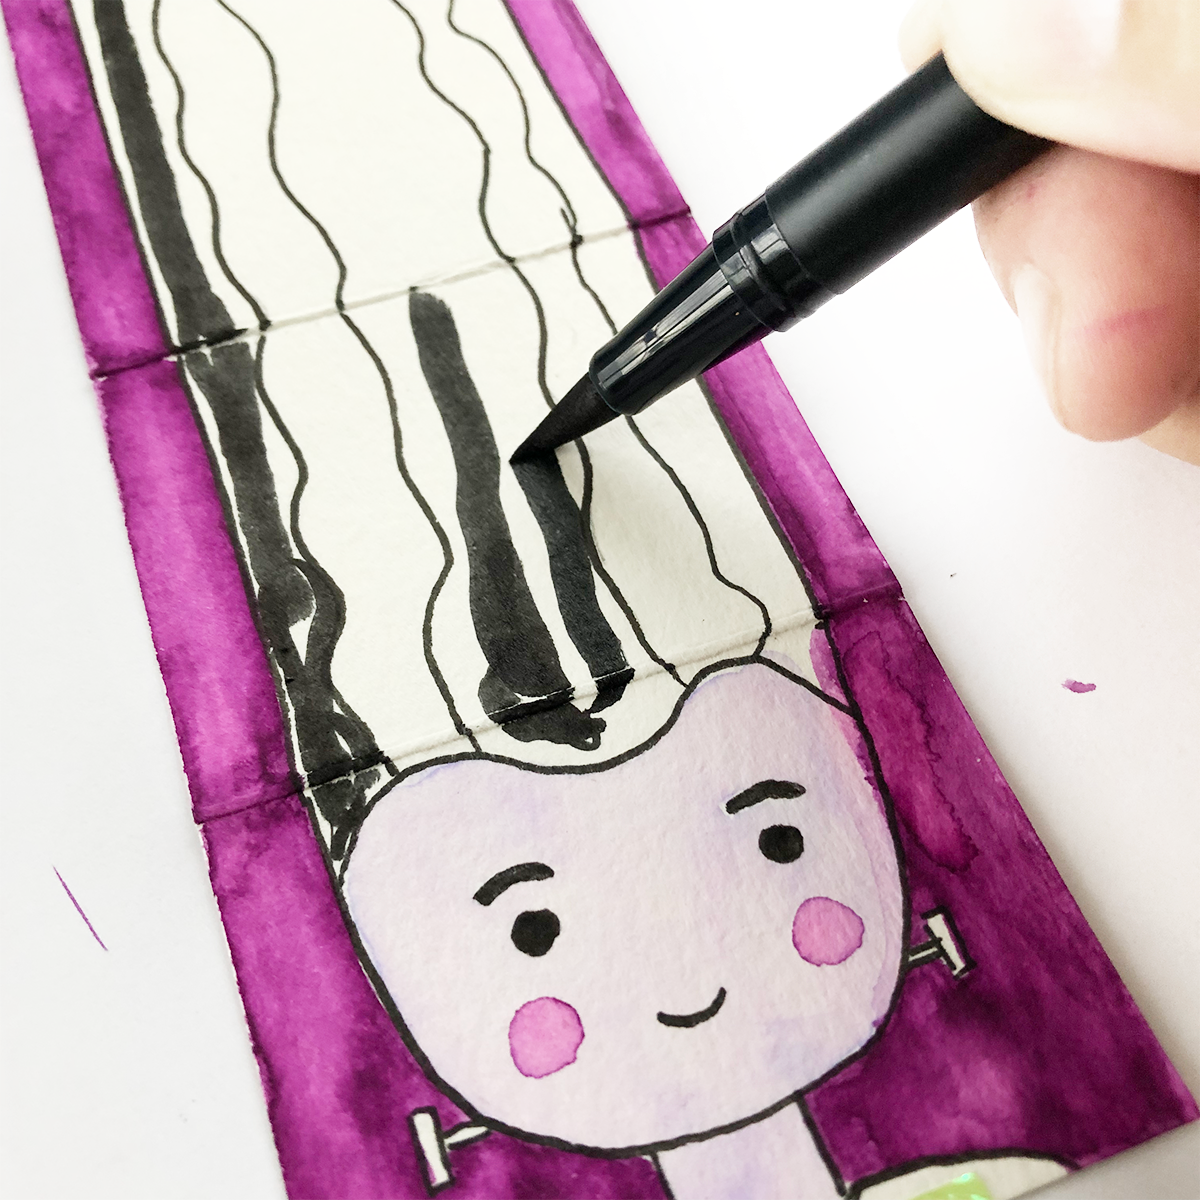
Color the hair with black leaving the two middle strips blank to achieve her iconic look.
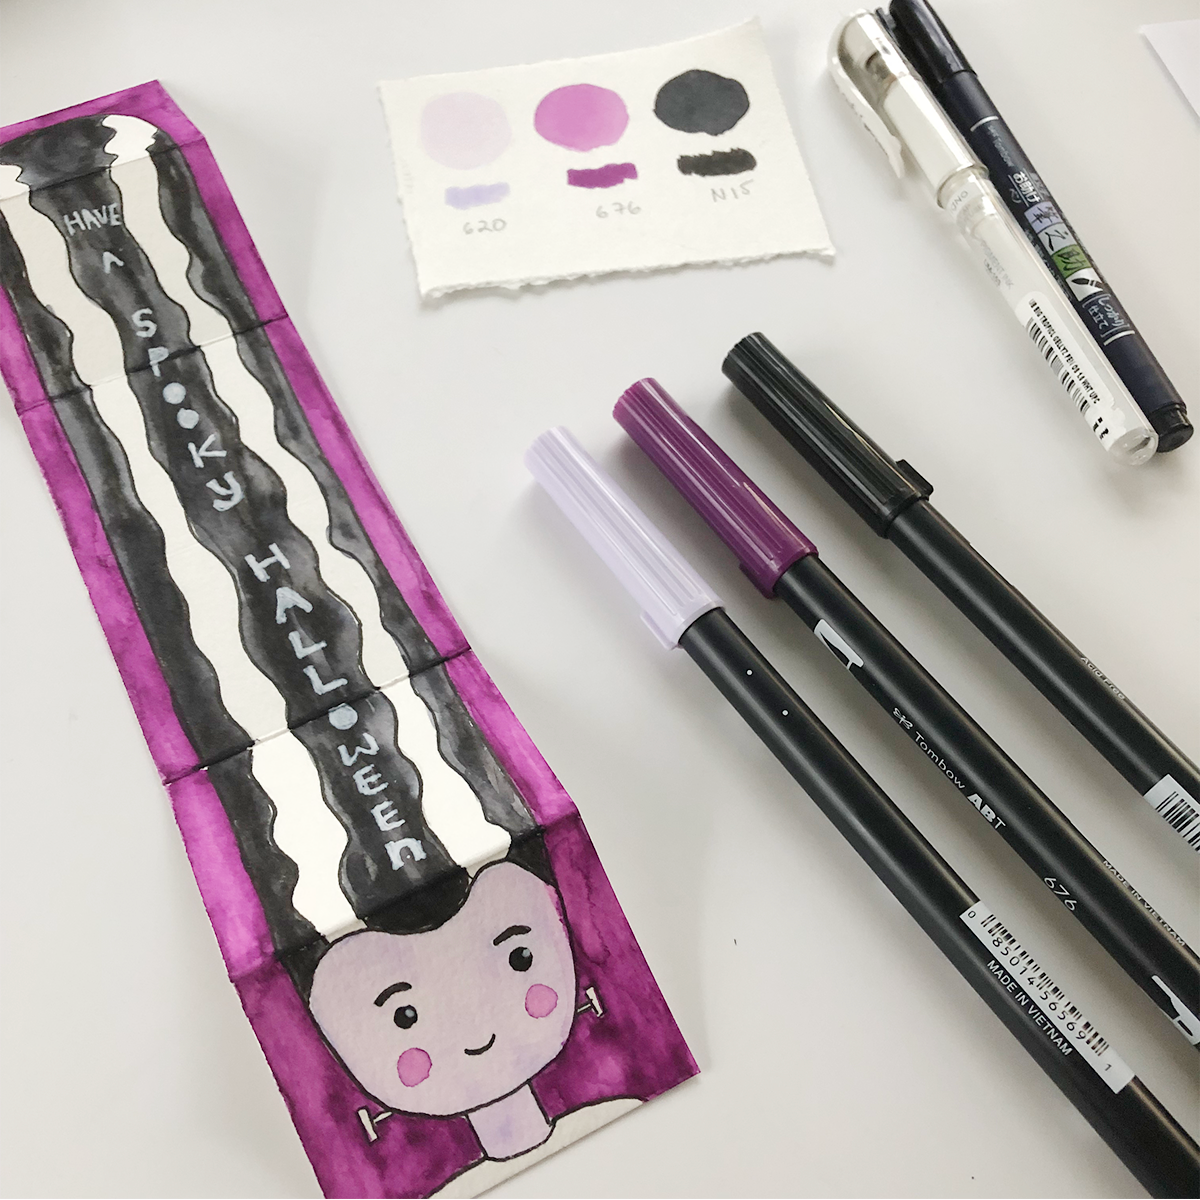
For coloring I used the Tombow ABT Dual Brush Pens; light purple (620), dark purple (676) and black (N15). They are so much fun since they are water-based and can be used as watercolors.
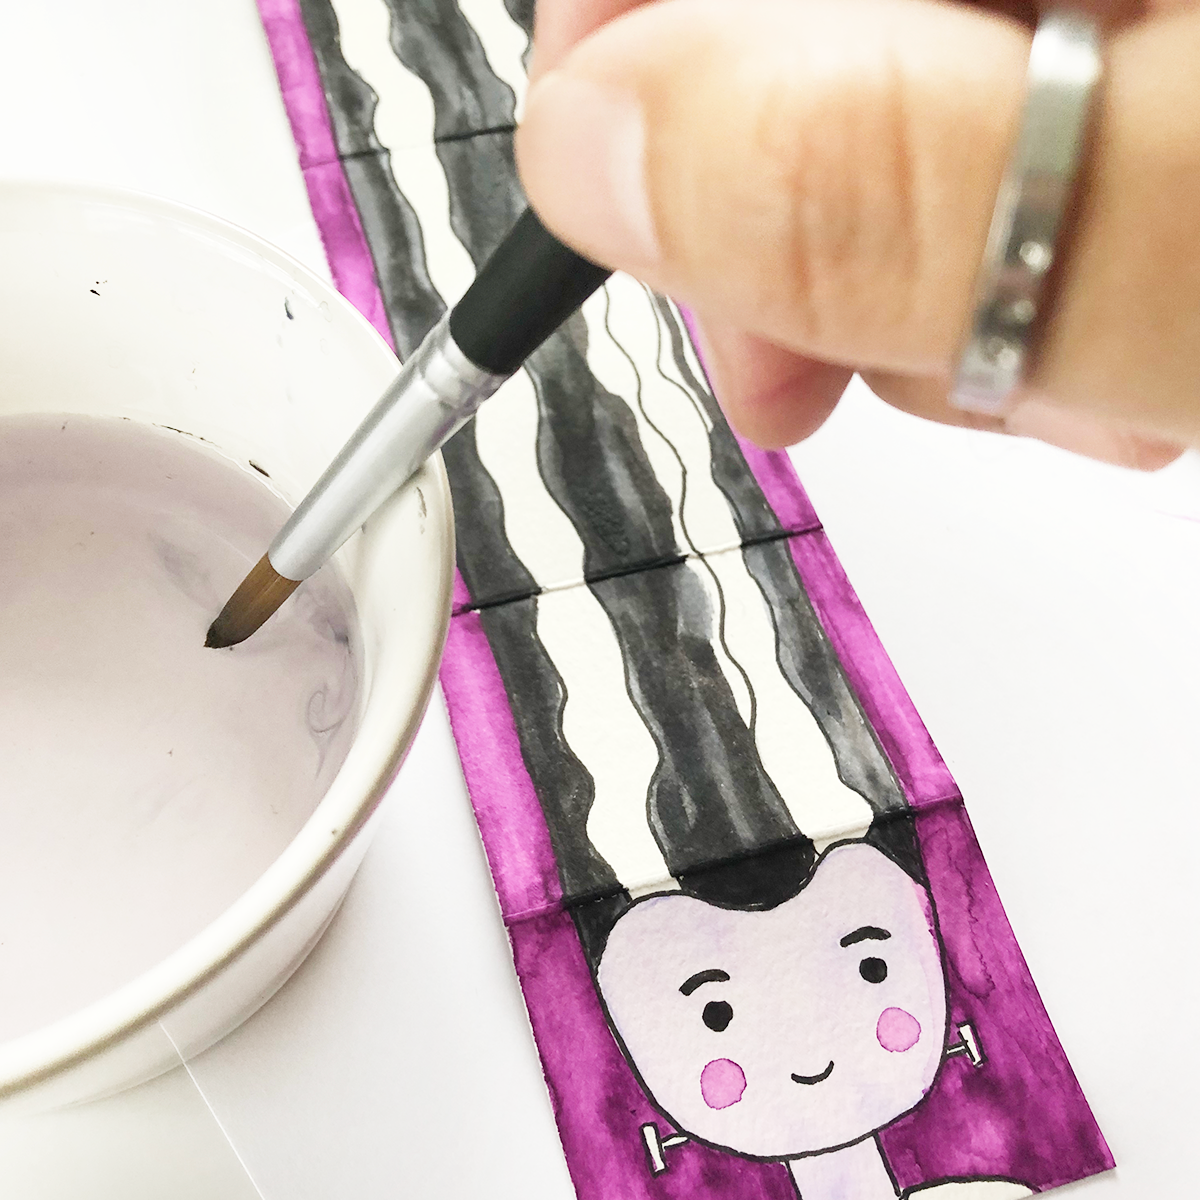
Time for some playing with some water! This is my favorite part when using these Tombow brush pens. I love the vibrant colors and textures they provide to my designs.
Tip: try to apply the after right after you are done painting to avoid leaving unwanted brush marks.
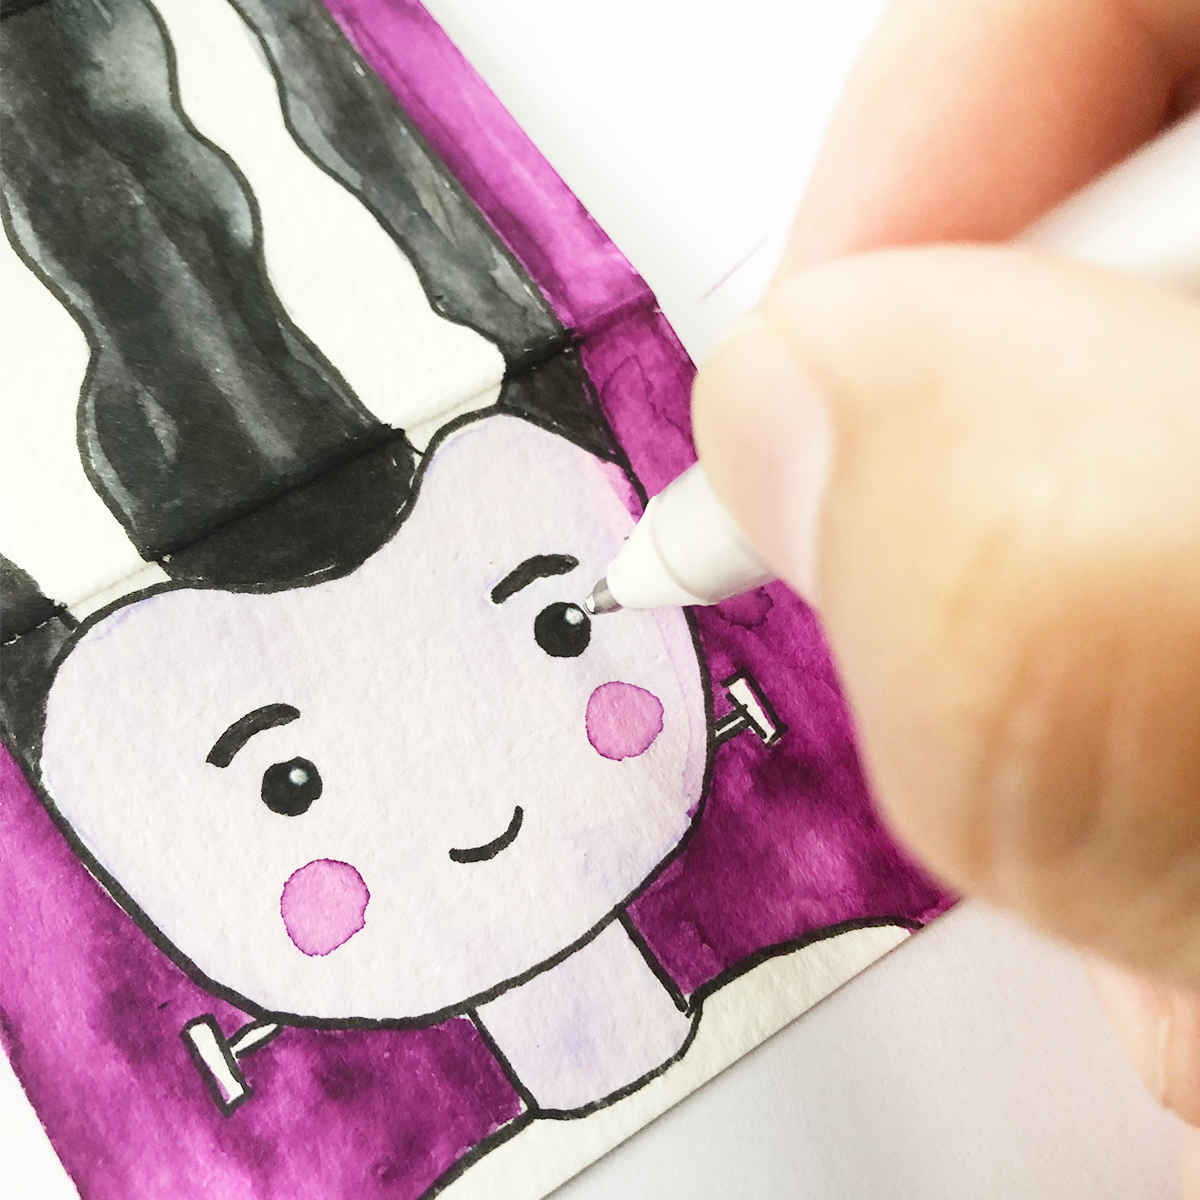
Step 4: Embellish
Use a white pen or marker to add some details in the eyes and write a halloween greeting. I used my trusty Uni-Ball Signo Broad Point Gel Pen perfect for this type of details.
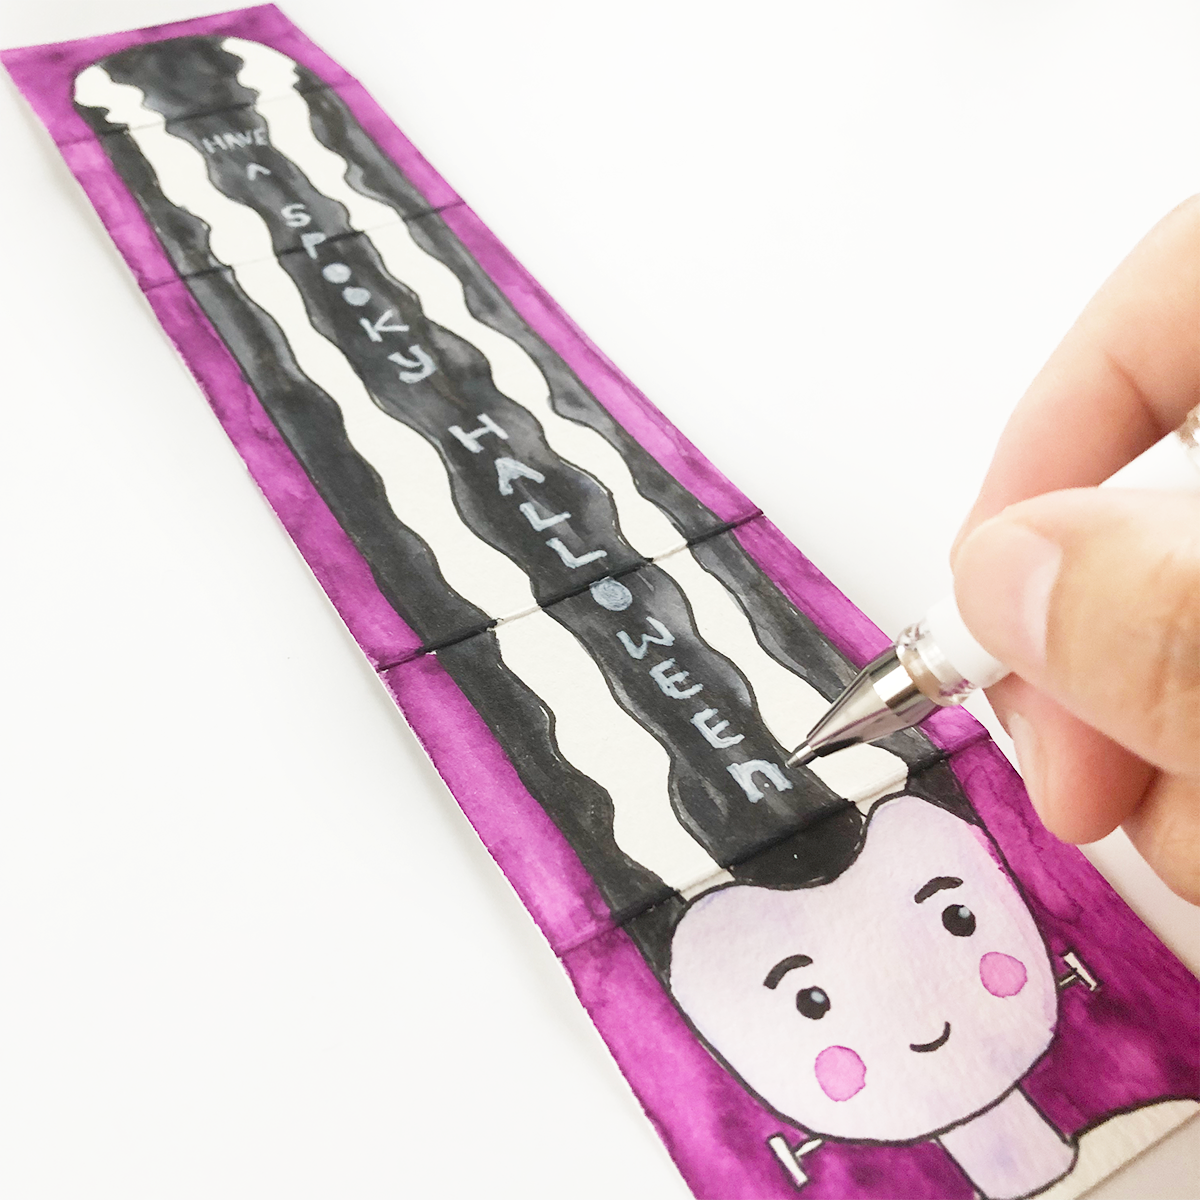
Tip: make sure to wait until everything is dried before drawing with the white pen.
And we are done!
Fold the card back to the 3.5 x 2.5 in size from step 1 to close your card and get it ready to be delivered to your little one or friend.
Bonus Step!
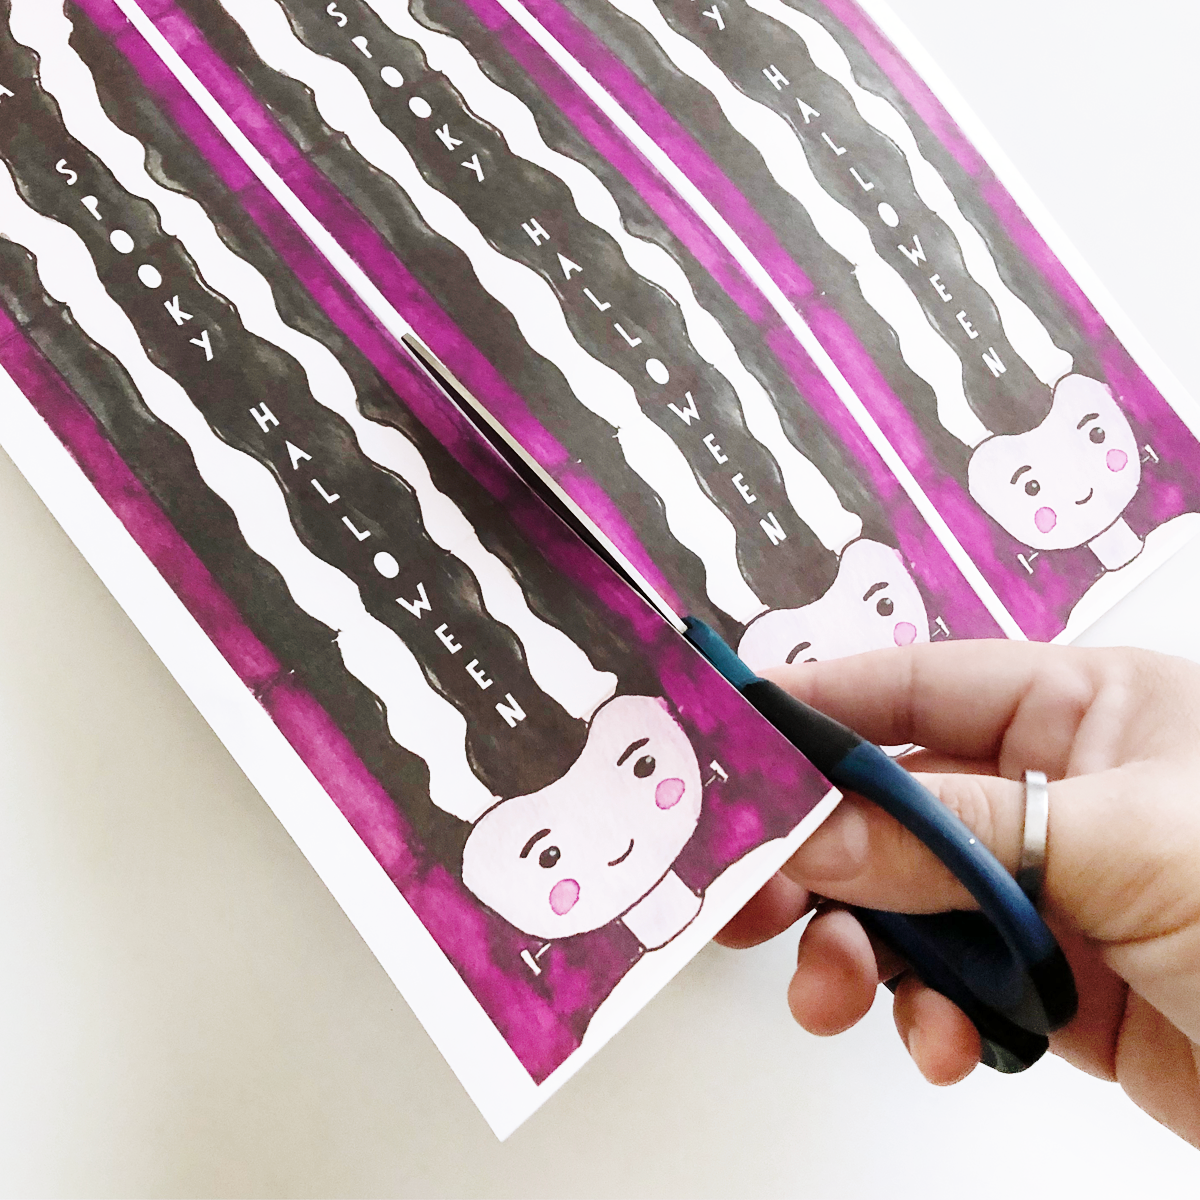
Scan or take a photo of your design and use a design program like Photoshop or even PowerPoint to print multiple mini folded cards for your little one to giveaway to his/her classmates this Halloween!
I included a second sheet in the PDF with 3 of the designs from this DIY to easy printing and cutting.
Download the PDF (for personal use only)
Thanks for reading this post. Happy crafting!
xoxo,
B
You can find the art supplies used in this DIY at any art supply store. Here are the ones I found online on Amazon:

Tombow ABT Dual Brush Pen (620 Lilac)

Tombow ABT Dual Brush Pen (676 Royal Purple)

Tombow ABT Dual Brush Pen (N15 Black)

Disco Washi Tape for Packing or Crafting, Set of 1

Disco Washi Tape for Packing or Crafting, Set of 1
